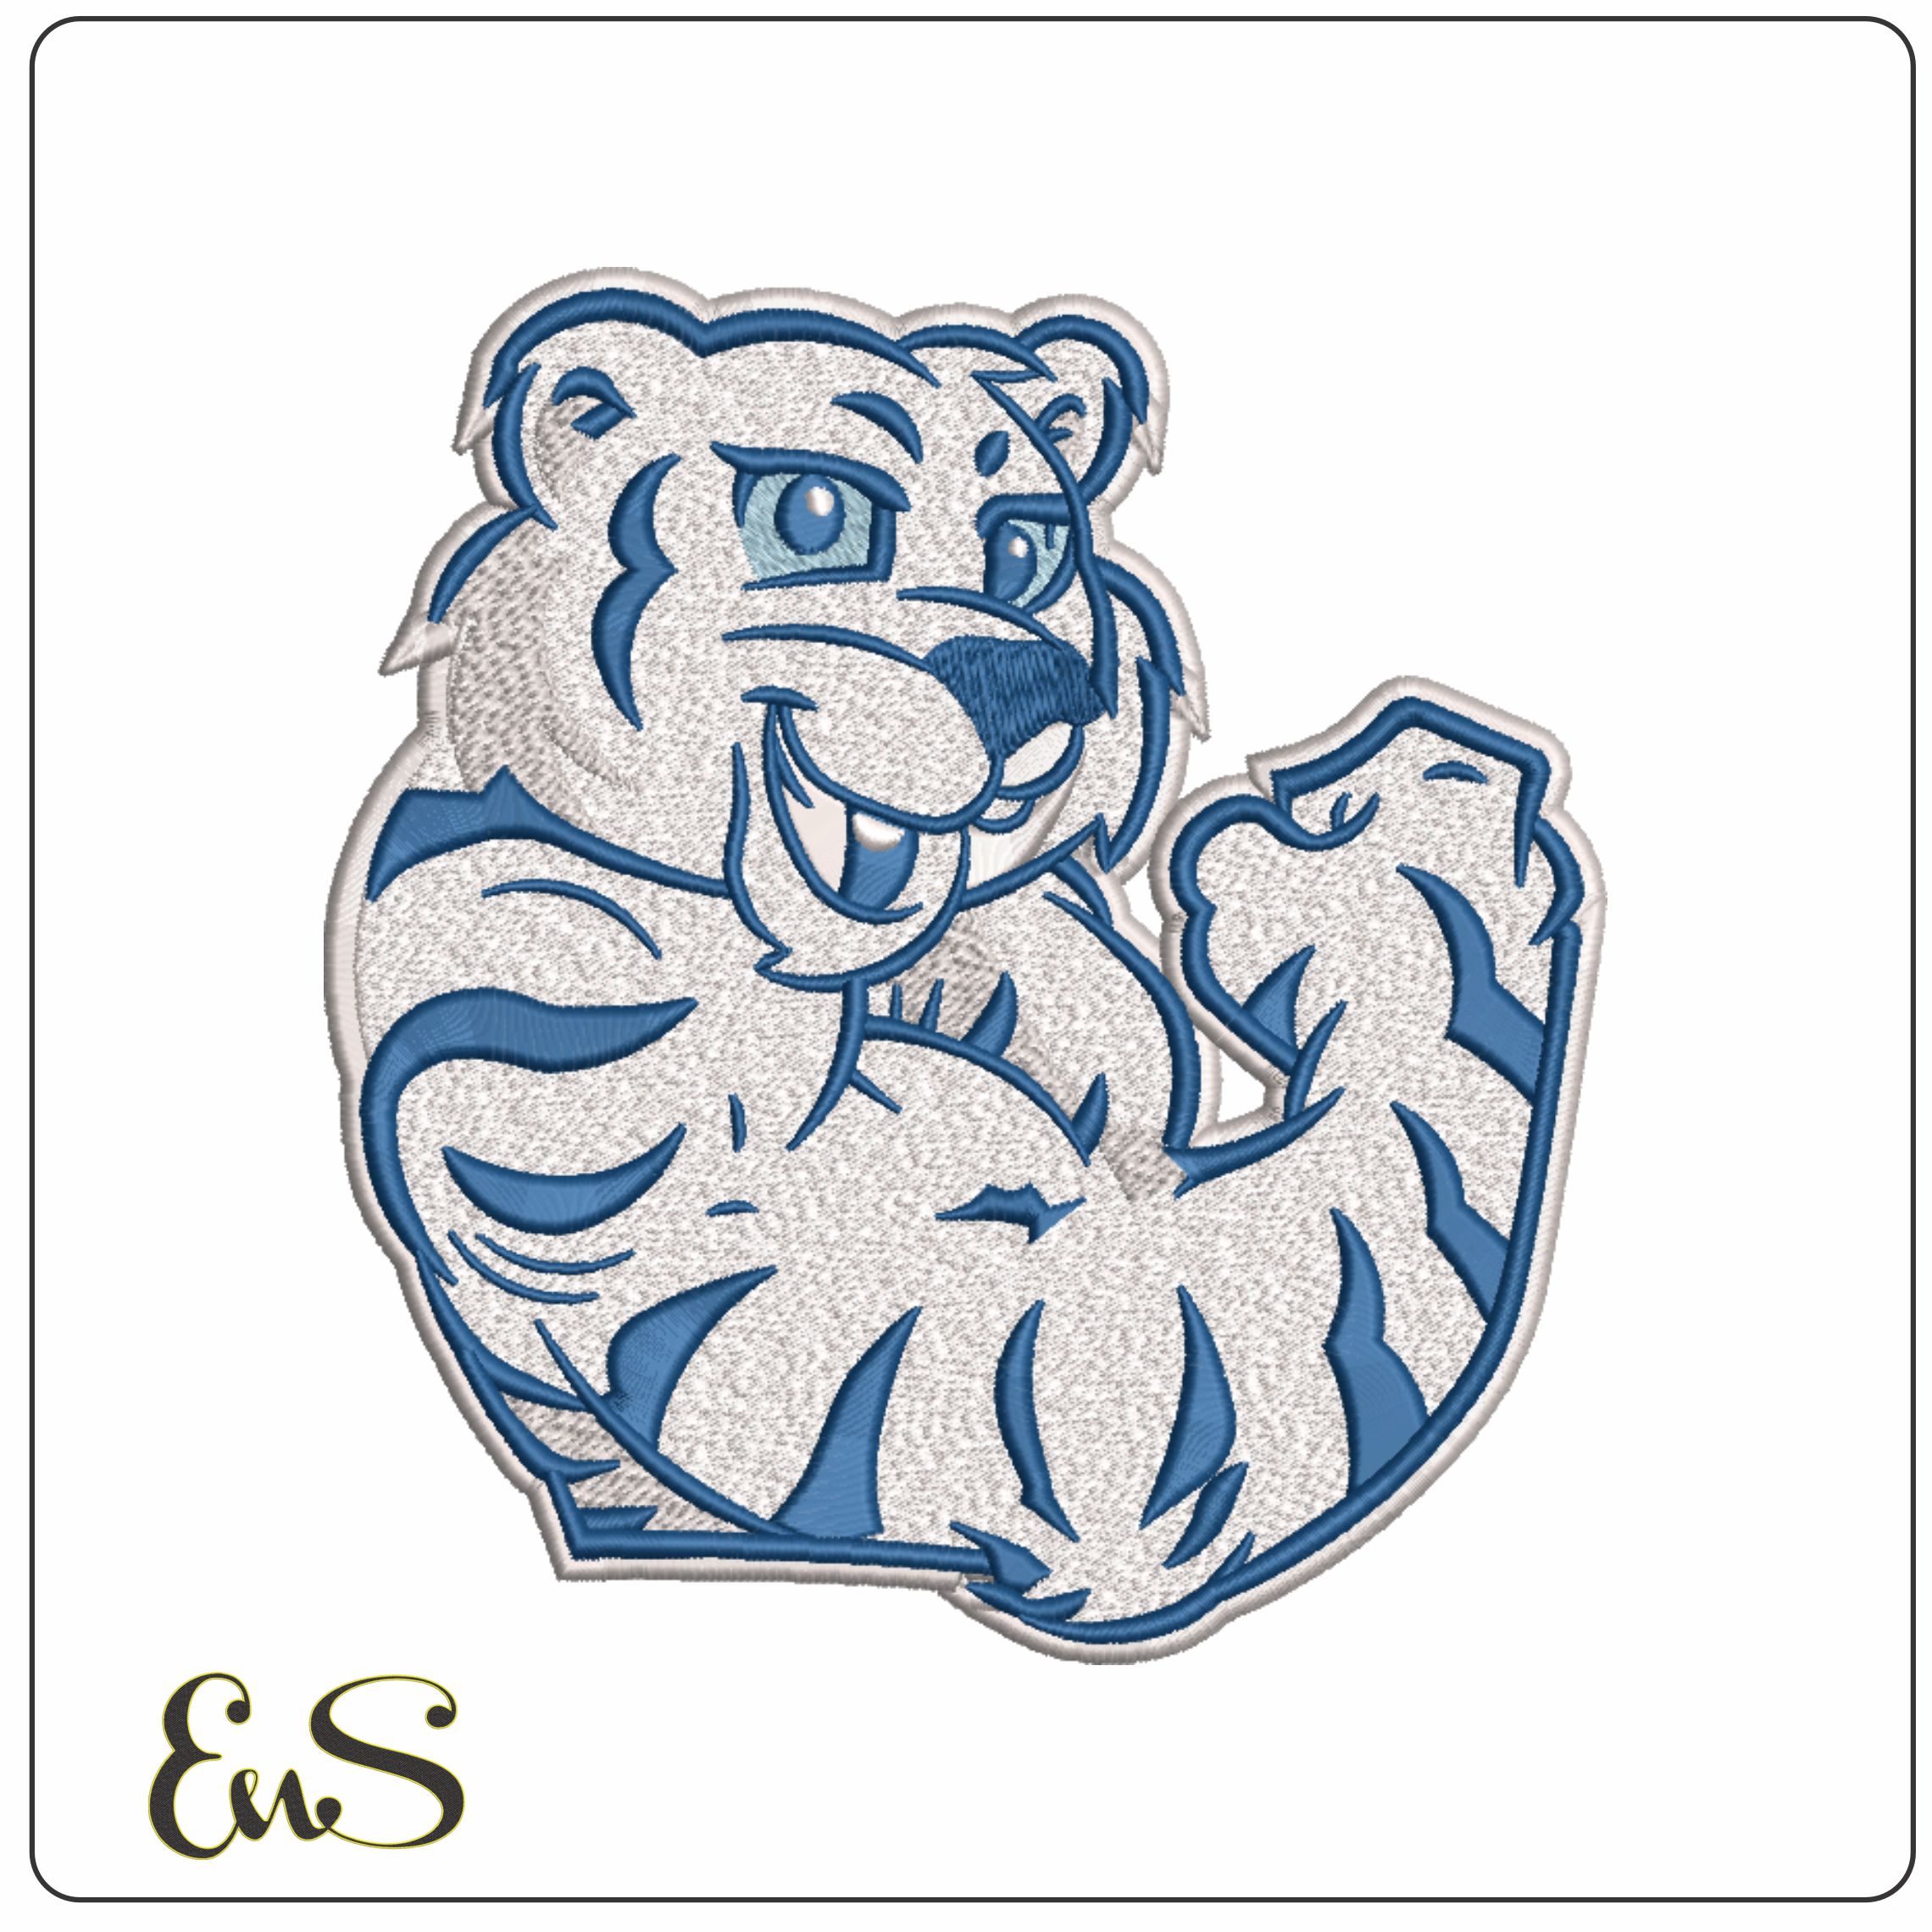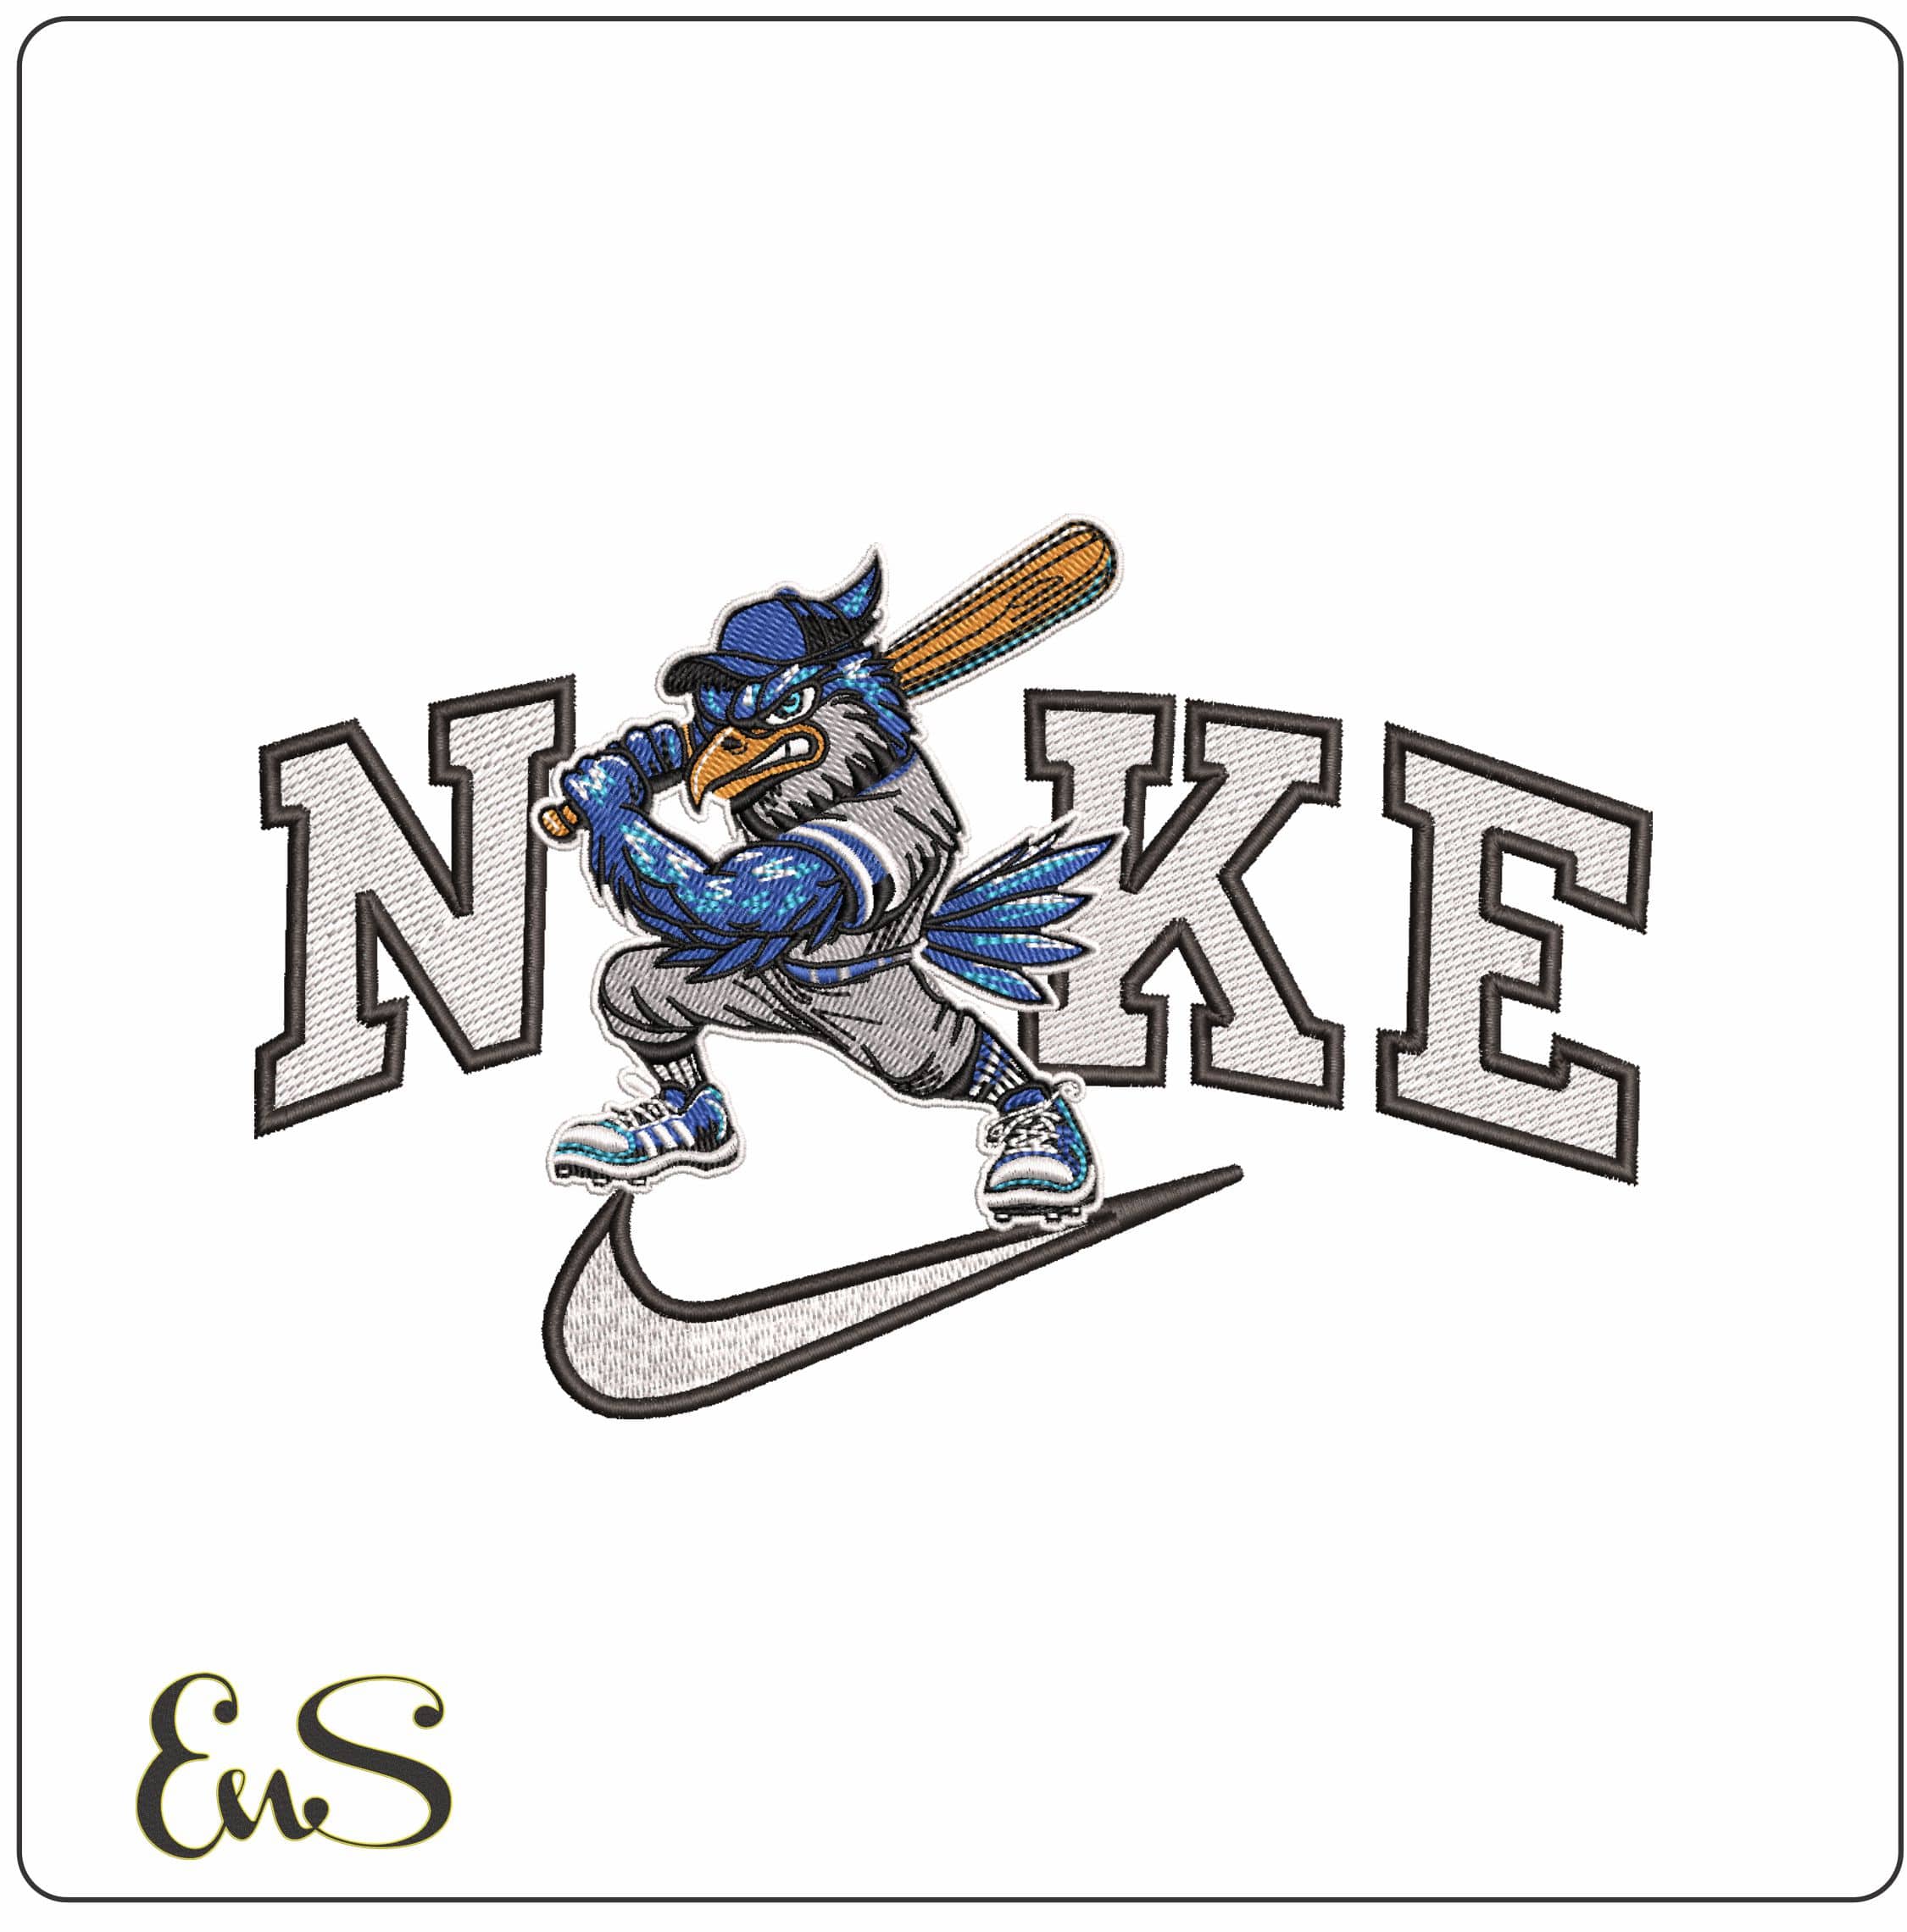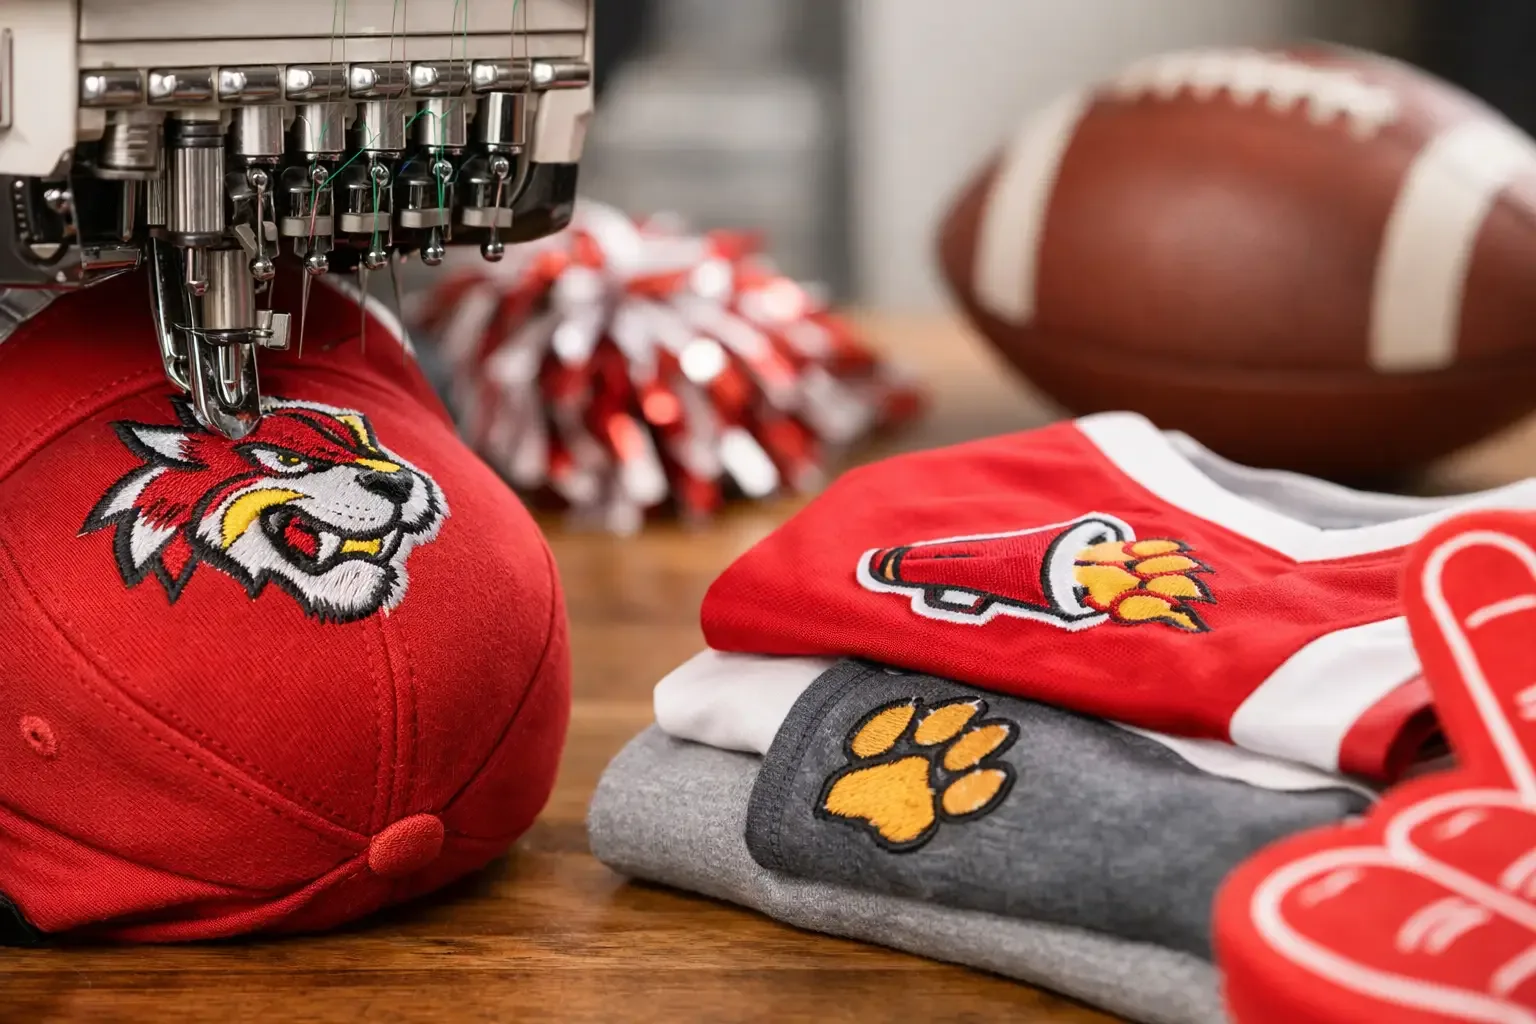
A plain hoodie can become the shirt everyone asks about at Friday night football when it carries the right mascot, colors, and name. School spirit embroidery gives makers a fast way to create polished game-day gear for students, parents, teachers, boosters, and alumni without starting every project with custom digitizing.
For home embroiderers and small apparel shops, the best projects are the ones that look personal while still being practical to stitch. A ready-to-download school-themed embroidery file lets you move from an idea to the hoop quickly, whether you are making a single gift or preparing a small batch of team accessories.
## Start With the Project, Not Just the Design
School designs are easy to buy and easy to overbuy. Before choosing a file, decide where the embroidery will live. A left-chest polo, a stadium blanket, a tote bag, and a youth cap all need different sizes, stitch densities, and placement choices.
For shirts and sweatshirts, a mascot or school-letter design usually works best in a size that fits the chest without crossing seams or running into a zipper. A smaller logo-style design can also look sharp on a sleeve, cuff, or upper back neckline. For spirit wear sold at concession stands, craft fairs, or school events, keeping the placement consistent makes batches faster to hoop and easier to price.
Bags and blankets give you more room for bolder layouts. Consider a large initial with a mascot underneath, a school-color sports ball, or a simple spirit phrase paired with a football, baseball, cheer bow, or megaphone. These items also make useful fundraiser pieces because they feel less size-specific than apparel.
If you are stitching for a child, keep comfort in mind. Dense embroidery on the inside of a lightweight tee can feel scratchy. Choose a smaller, cleaner design or use a soft backing cover when appropriate. A design that looks great on a heavyweight varsity jacket may not suit a thin toddler shirt.
Choosing School Spirit Embroidery Files That Stitch Well
The artwork is only part of the decision. Machine embroidery needs to be digitized for stitching, not simply converted from a graphic. Look at the design preview, listed dimensions, stitch count, and file formats before adding a file to your project folder.
A detailed mascot with layered colors can be a standout centerpiece, but it will take longer to stitch and use more thread than a one-color monogram or clean athletic lettering. That trade-off matters when you are making 20 booster-club totes or a rush order of parent shirts. For quick items, simple school initials, sports icons, and compact mascot silhouettes often deliver the strongest result for the time invested.
Choose a size that fits your hoop and your blank. Do not assume that resizing a design dramatically inside your machine will preserve its quality. Enlarging can leave fills too open, while shrinking can make small lettering crowded or unreadable. If you need several sizes, use files that are specifically offered in multiple dimensions whenever possible.
Check your machine’s required format before downloading. Many makers work with PES, DST, JEF, EXP, VP3, HUS, or XXX files, but the right choice depends on the machine. Save the original download in an organized folder, then copy the machine-ready version to your USB drive or transfer method. Naming folders by school, sport, and design size will save time once game season gets busy.
Match Thread, Fabric, and Stabilizer to the Job
School colors are instantly recognizable, so thread selection deserves a little attention. A bright gold may look very different next to a warmer yellow fabric, and navy thread can disappear on black fleece. Stitch a small test on a fabric scrap when you are working with unfamiliar colors, textured materials, or a detailed file.
For fleece hoodies, sweatshirts, and knit tees, use a cut-away stabilizer for designs with solid fills or substantial stitching. It provides support that stays behind the embroidery after washing. Tear-away stabilizer can work for lighter, less dense designs on stable woven fabrics, but it is not always the best choice for stretch garments that will be worn often.
Topping is especially useful on plush fleece, towels, and textured blankets. Without it, small lettering and fine details can sink into the pile. A water-soluble topping keeps the surface flatter while the machine stitches, helping lines and letters remain visible.
Caps need special planning. Structured hats, curved surfaces, and center seams can make a detailed crest harder to sew cleanly. Use a cap frame if your machine supports one, choose a cap-friendly design, and avoid placing tiny text across a heavy center seam. For a beginner-friendly option, embroider a simple initial or small sports symbol on a flat cap panel before construction, or focus on visors and beanies.
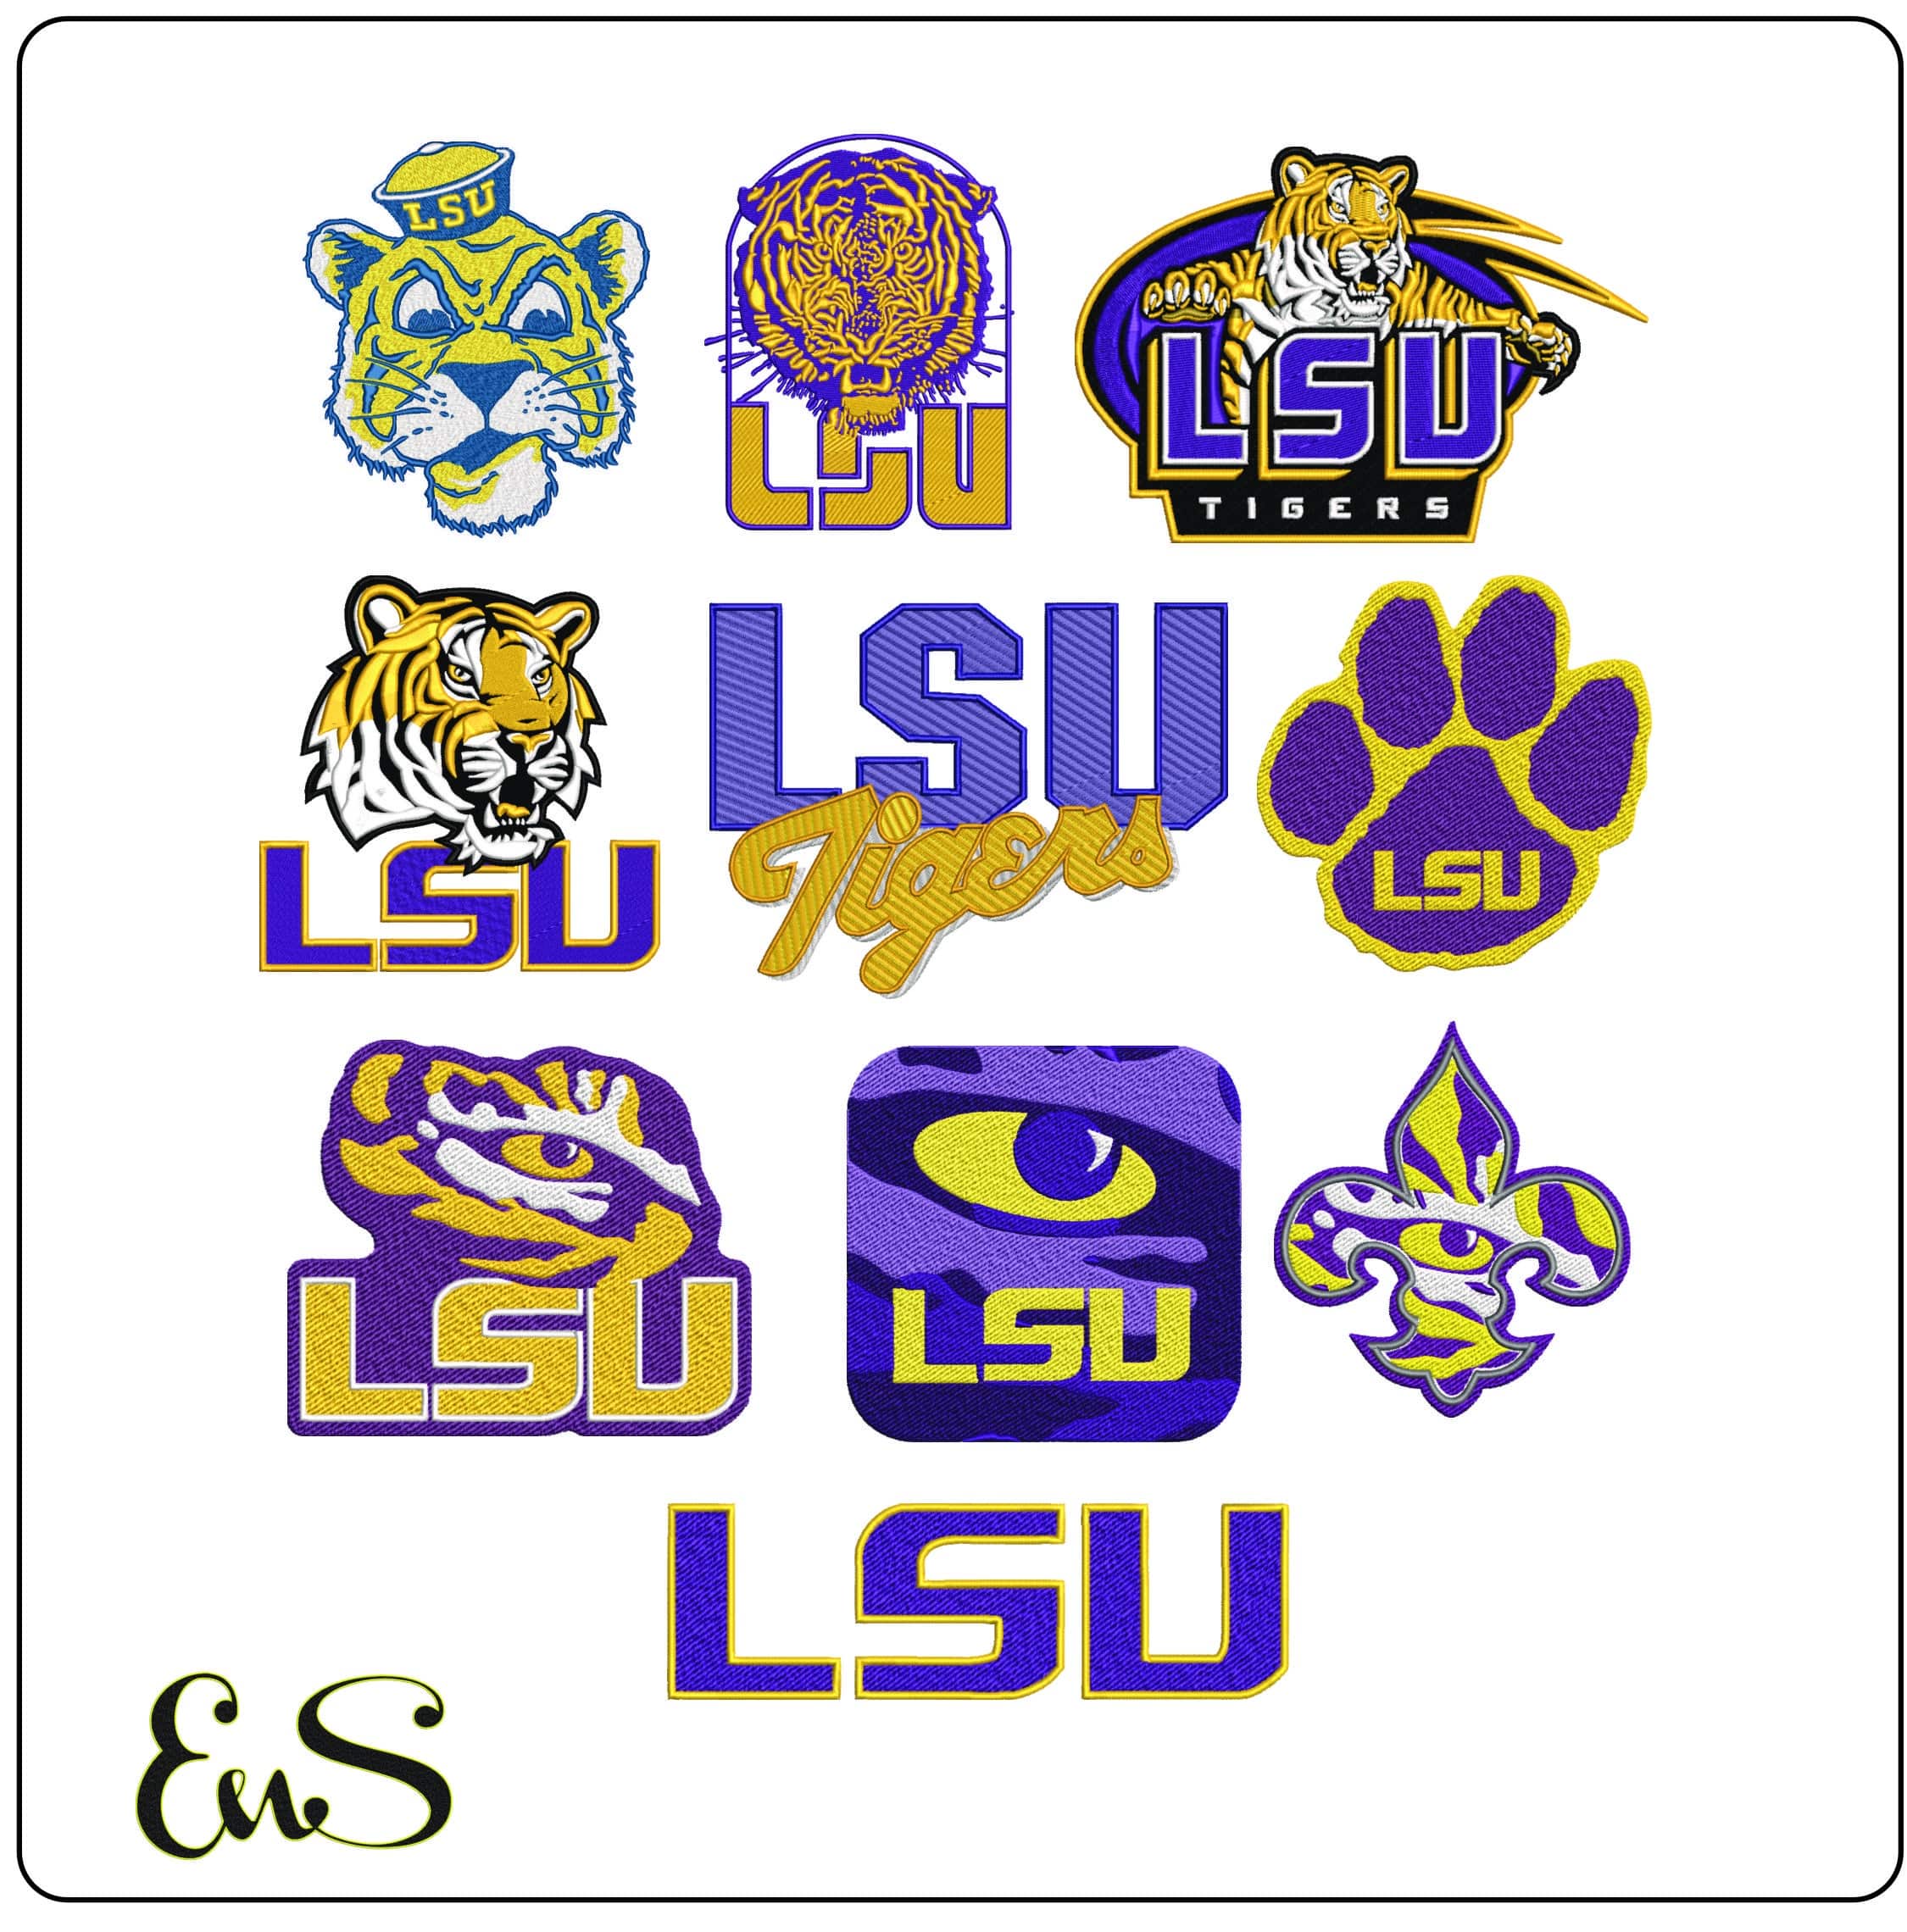
The strongest school spirit collection is not limited to one hoodie design. Different customers want different levels of school pride, and variety helps you use the same theme across multiple product types.
A practical collection can include embroidered polos for staff, zip-up jackets for coaches, tote bags for parents, blankets for the bleachers, and small gifts for senior night. Add sports-specific options for football, basketball, baseball, softball, soccer, volleyball, wrestling, band, and cheer. A school-color paw print or eagle-style mascot may work across every season, while a ball or cheer motif gives each item a clear purpose.
Personalization can raise the value of an otherwise simple piece. Add a player name, jersey number, graduation year, or team role beneath the main design. Machine embroidery fonts are useful here because they let you create coordinated names without ordering new custom artwork for every person.
Keep the layout balanced. A large mascot with a long name underneath may need a wide hoop or a different arrangement. Sometimes placing the name on a sleeve or back yoke looks cleaner than forcing everything into a crowded chest design. Test the full layout in embroidery software before hooping a final blank.
Plan Batch Orders Like a Small Shop
When an order includes multiple names or sizes, organization matters as much as stitching skill. Create one project worksheet with the customer name, garment size, thread colors, design size, placement, and personalization spelling. Confirm names before stitching. Replacing a blank because of one missed letter costs more than a few extra minutes of proofing.
For a batch of similar garments, complete each step in groups: cut stabilizer, hoop blanks, stitch the shared mascot, then add names or numbers. This reduces thread changes and keeps your workspace more organized. It also makes it easier to spot a color or placement issue before every item is complete.
Price with the full job in view. Include the cost of the blank, design file, stabilizer, thread, machine time, hooping, trimming, packaging, and personalization. A low-cost instant download can support profitable projects, but the finished product still requires your labor and supplies. Dense designs and hard-to-hoop items should be priced differently from a quick monogram on a tote.
Use School Names and Logos Carefully
School spirit can mean a general mascot, school colors, athletic wording, or a specific official logo. Those are not always treated the same way. If you are selling finished products, confirm what the school, district, league, or trademark owner allows before advertising official names, logos, or marks.
For personal gifts, general spirit themes may be all you need: a tiger, bulldog, wildcat, eagle, paw print, sports ball, or custom school-color lettering. For school-approved merchandise or team orders, ask the buyer for clear permission and requirements. This protects your shop and avoids producing items that cannot be used at an event or fundraiser.
Make Every Stitch Feel Like Team Pride
Great school spirit gear does not need to be complicated. A clean, well-placed design in the right colors can turn a practical sweatshirt, bag, or blanket into a keepsake for a season, a championship run, or a graduating senior. Start with a design sized for the item, test it on a scrap, and keep a few versatile school-themed files ready for the next game-day request.