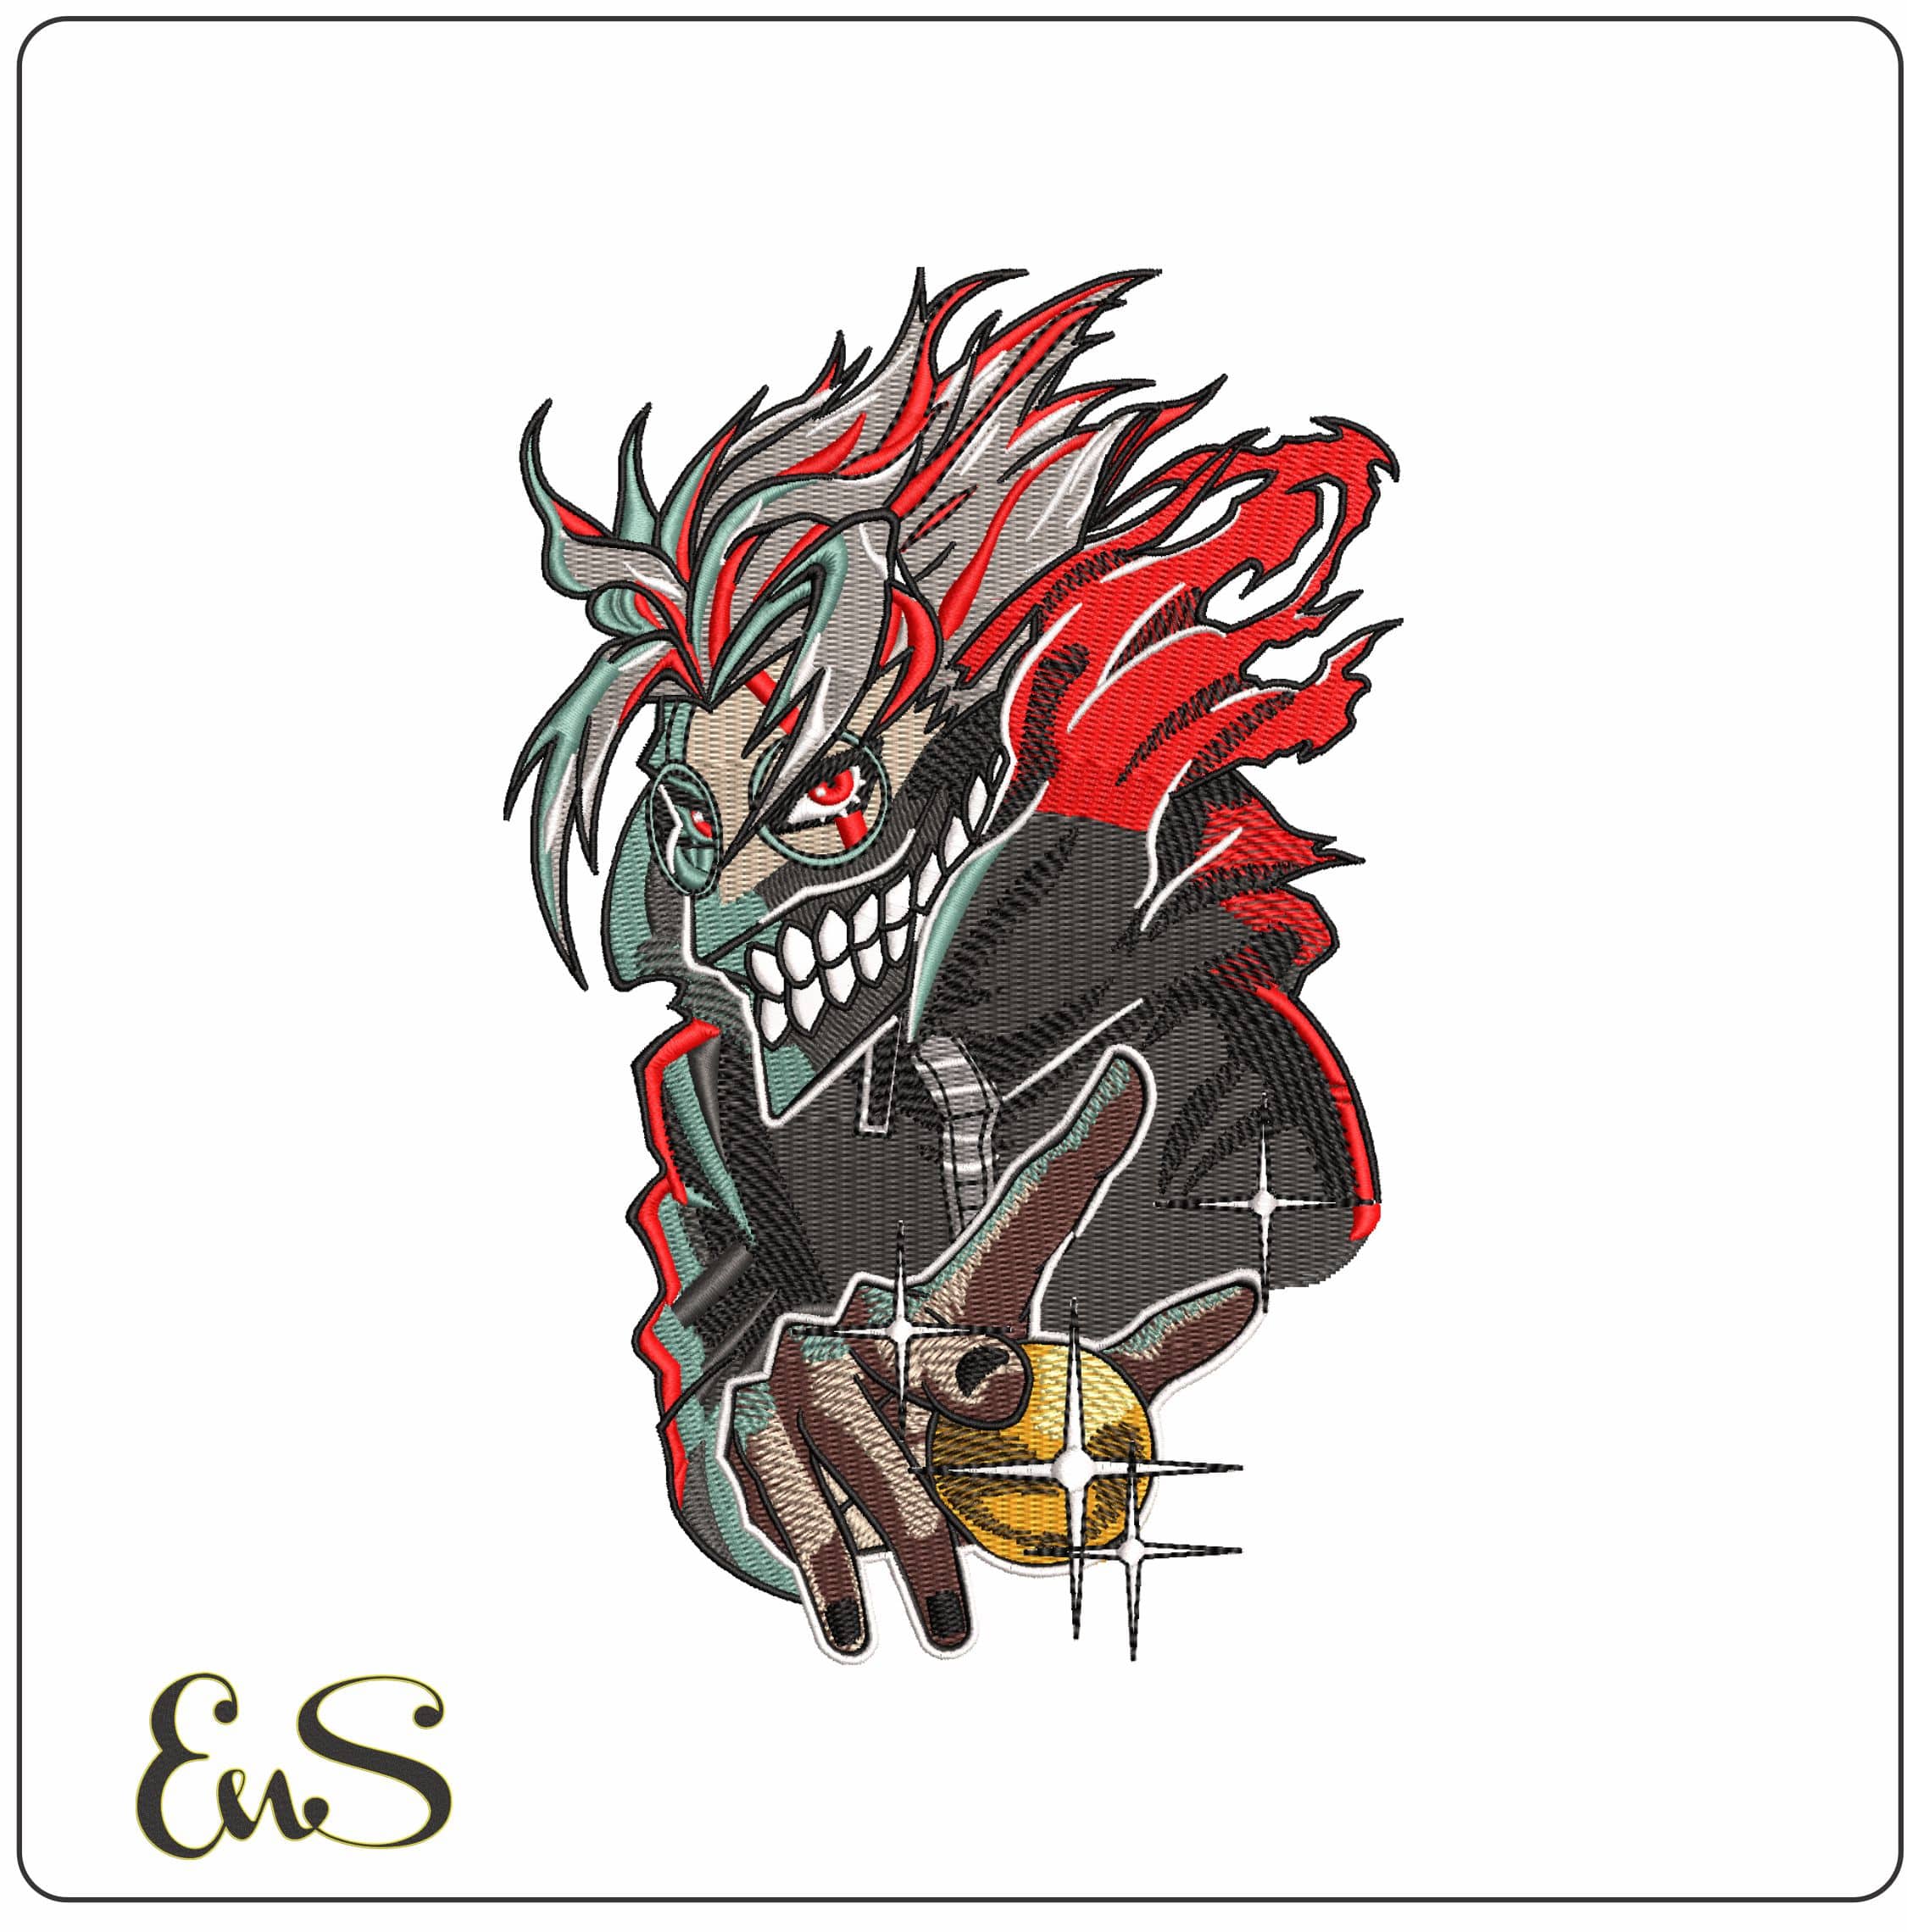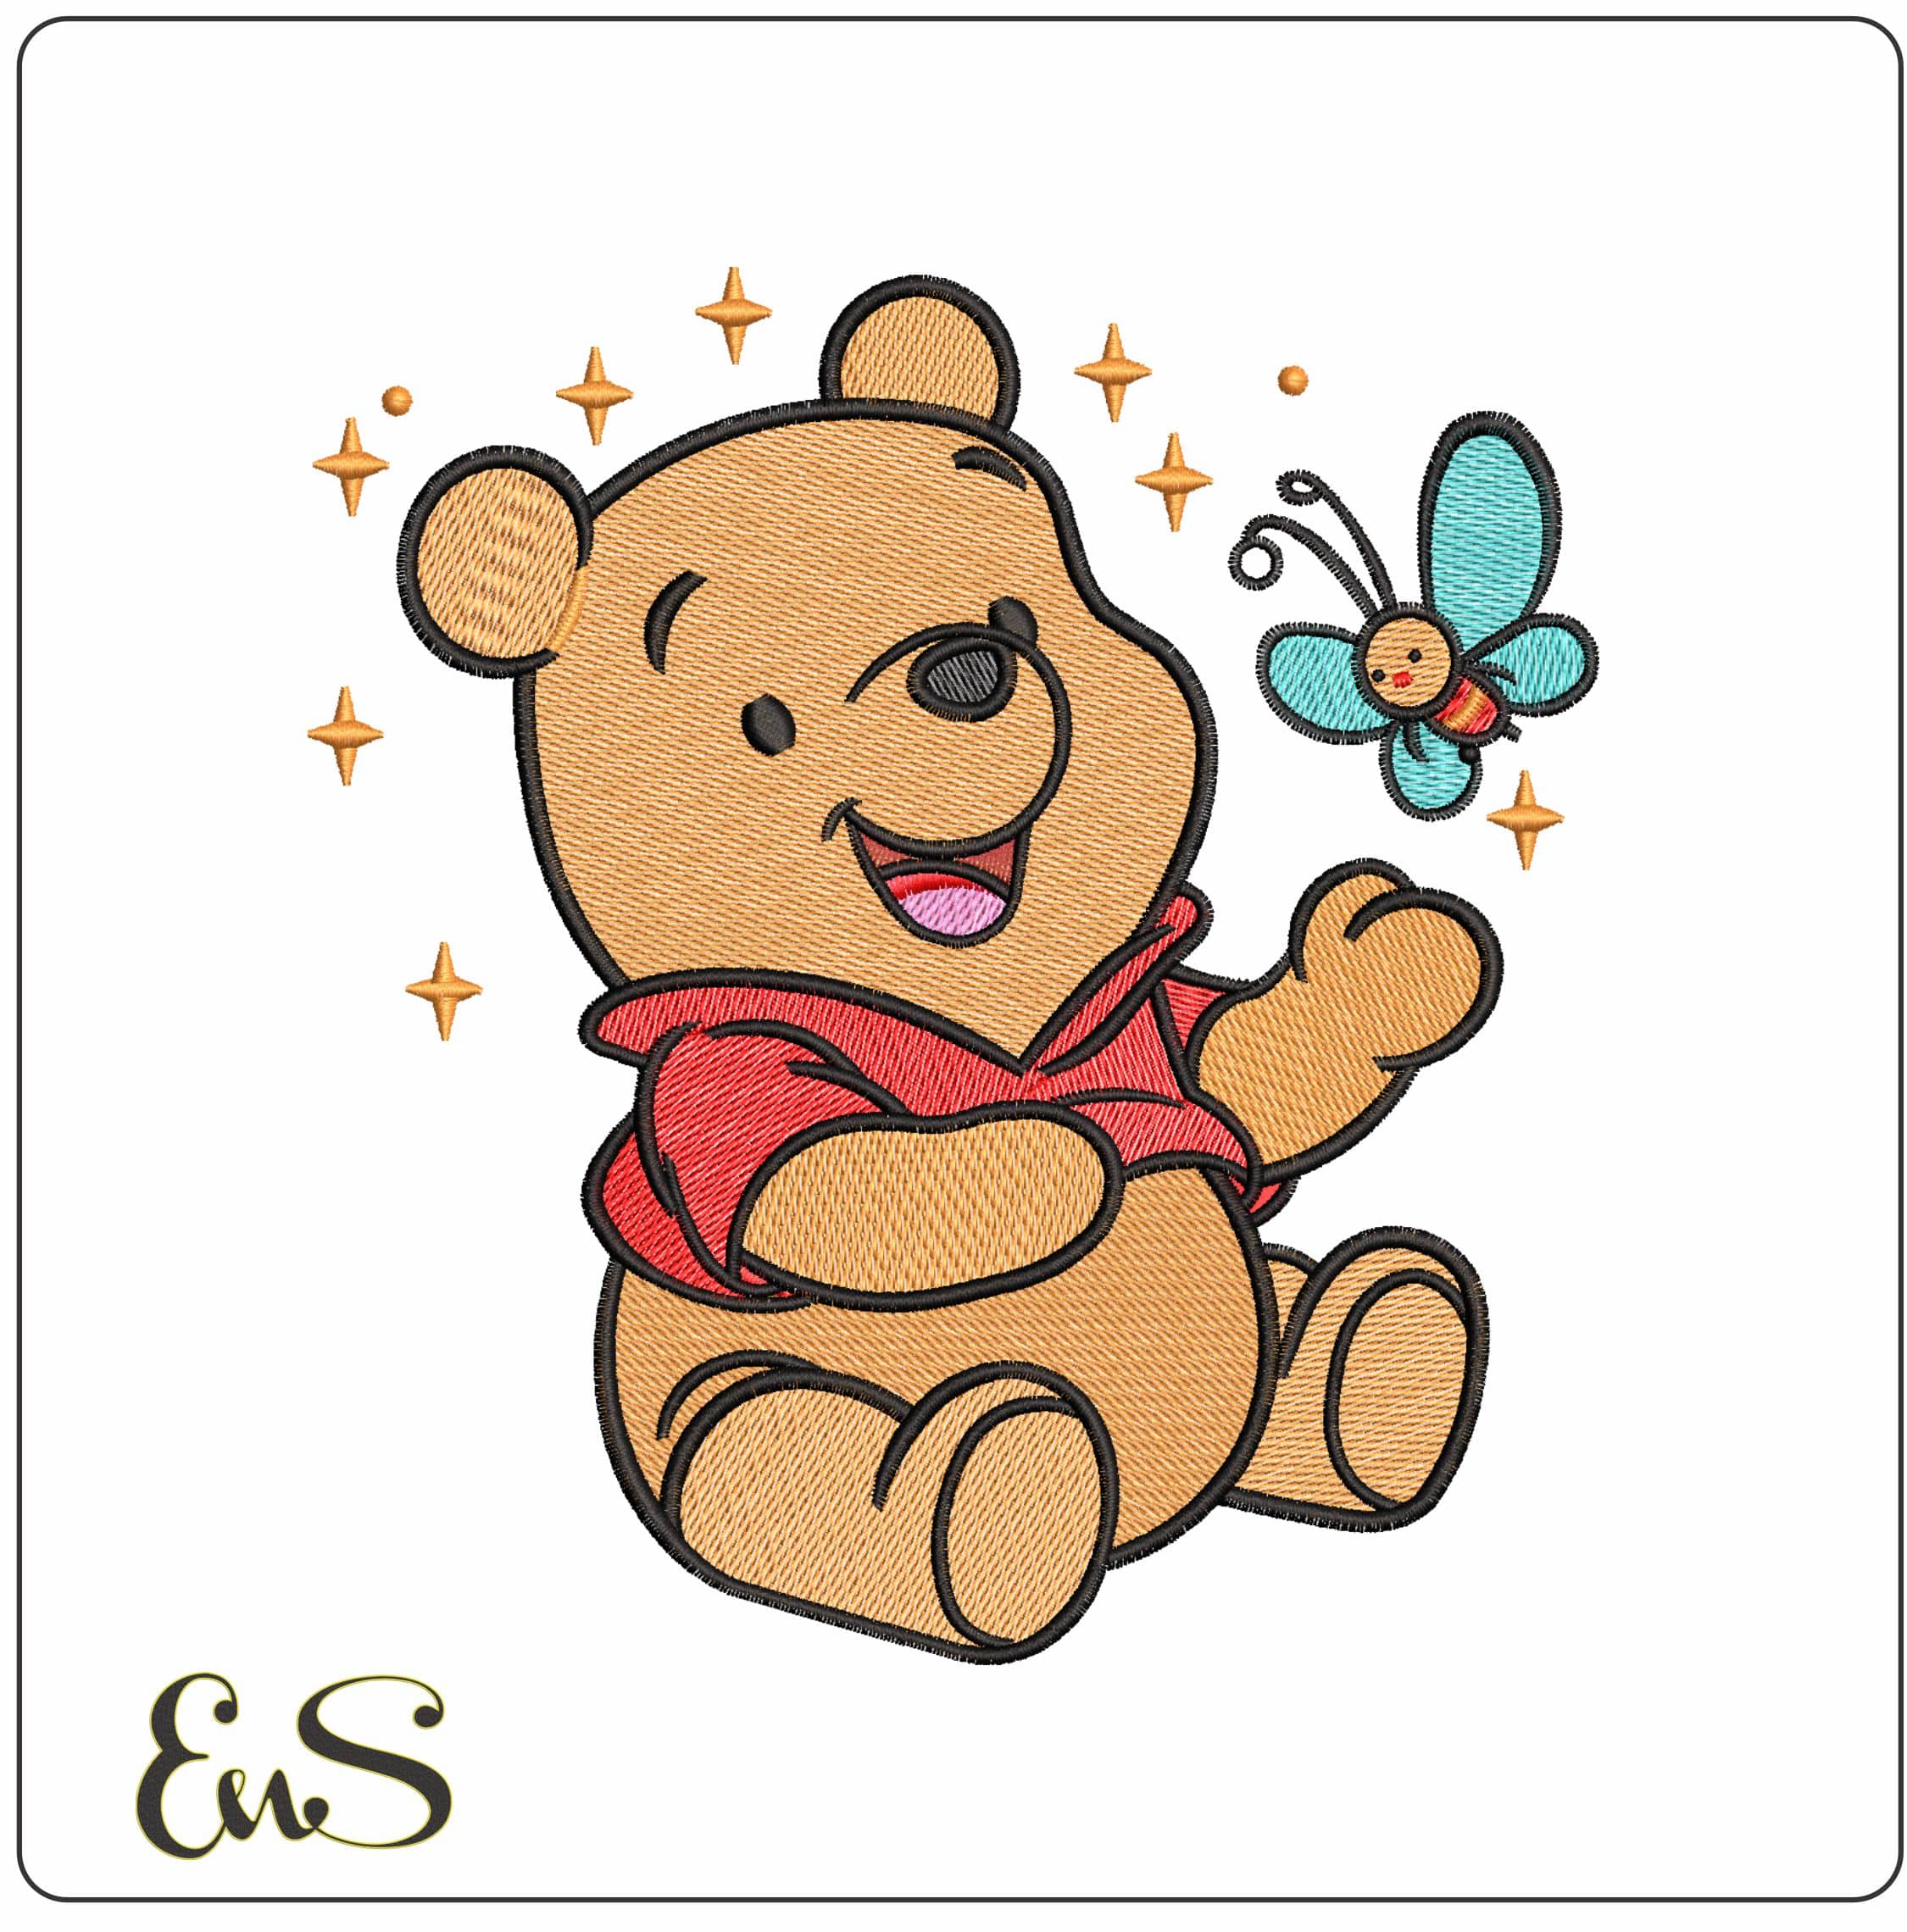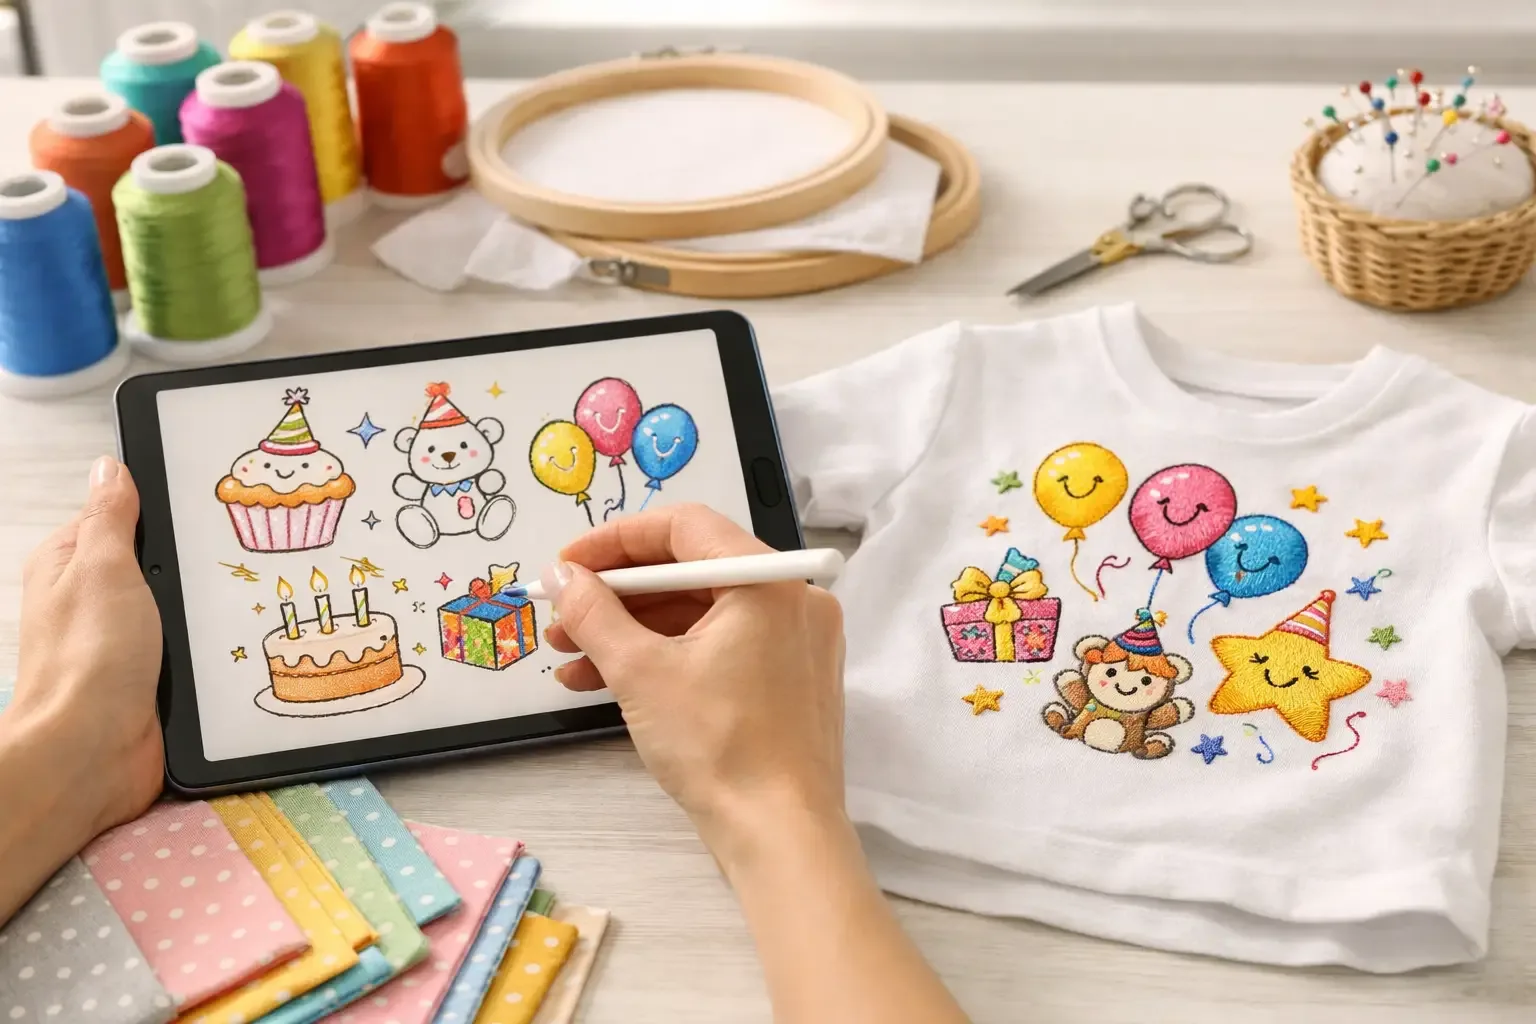
A great cartoon birthday shirt embroidery project does more than add a character to a tee. It turns a simple birthday outfit into a photo-ready keepsake, whether you are stitching for a toddler’s party, a school-age cartoon fan, or a customer who needs matching family shirts fast. With the right machine embroidery file, a clean shirt blank, and a design sized for the wearer, you can create a finished piece that looks polished without paying for custom digitizing. For home embroiderers, boutique makers, and craft sellers, birthday shirts are also a dependable project category. Parents shop for them year-round, they are easy to personalize with a name or age, and one strong design can be adapted into a full party set.
## Start With the Birthday Theme, Not Just the Character
Cartoons bring instant personality to birthday apparel, but the best design choice starts with the party theme and the child’s age. A bright animal cartoon may suit a first birthday, while a bold superhero-style, racing, princess, gaming, or anime-inspired look may fit an older child better. The character element should feel like part of the celebration, not like a random design placed on a shirt.
Think about what needs to be seen from across the room and in photos. A recognizable face, a large birthday number, and a short name are usually more effective than a crowded collection of small details. If the shirt is for a cake smash or a party portrait, choose a design with a clear focal point. If it is for a family outing or a themed event, a smaller left-chest design can be a better fit.
When working with recognizable entertainment themes, make sure your file choice and finished use align with applicable licensing and marketplace rules. For personal gifts, a familiar cartoon-style motif can make the project feel especially personal. For products you plan to sell, use designs with commercial permissions that match how you intend to use them.
## Build a Cartoon Birthday Shirt Embroidery Design That Reads Clearly
Embroidery has texture, dimension, and visible stitch direction, which means it needs a little more editing than a printed graphic. A detailed cartoon image can look great on screen but become dense, stiff, or hard to read after stitching. Choose embroidery-ready artwork that is digitized with garment use in mind.
A practical birthday shirt layout often combines one main cartoon design with two personalization elements: the birthday age and the child’s name. Keep the name short when possible. A bold satin-stitch font is easier to read than a thin script, especially on small youth shirts. If the name is long, place it in a gentle curve above or below the design instead of shrinking it until it disappears.
For a balanced layout, use one of these proven approaches:
- Place the cartoon face or full character in the center, with the age directly beneath it.
- Use a large birthday number as the main element and position the cartoon motif beside or inside the number.
- Add the name above the character and a short phrase such as “Birthday Girl,” “Birthday Boy,” or “Level 6” below.
- Create a pocket-size character design on the front and save a larger birthday graphic for the back.
The right choice depends on the shirt size, hoop size, and stitch count. A layout that works on a youth large may overwhelm a 2T shirt. Before stitching, measure the usable chest area and compare it with the final design dimensions, not just the hoop dimensions.
Choose the Right Design Size
For infant and toddler shirts, smaller is almost always better. A compact design reduces stiffness and keeps the embroidery away from the neckline and underarm areas. Center-chest artwork generally works well, but it should sit high enough to show in photos without touching the collar ribbing.
Youth and adult shirts give you more room for a bigger statement design. Even then, avoid filling the entire front with dense embroidery. Large filled areas can make a cotton shirt pull, pucker, or feel heavy. If you want a larger visual impact, consider a design that uses open areas, lighter fills, appliqué sections, or a combination of embroidery and heat-transfer elements.
Pick Shirt Blanks That Support Clean Stitching
The shirt blank affects the final result as much as the embroidery file. Smooth cotton or cotton-blend tees are a familiar choice for birthday outfits because they are comfortable, easy to find, and available in party-friendly colors. Ringspun cotton gives a softer finish, while a slightly heavier tee can better support a medium-density design.
Very thin shirts may need extra support, especially under filled stitches. Stretchy performance fabrics can work, but they require more care with stabilizer selection and hooping. For a first-time project, a stable cotton tee is usually the easiest route.
Color matters too. White, black, pink, blue, red, and bright yellow make classic birthday-shirt backgrounds, but the thread colors need enough contrast to stand out. A dark cartoon outline on a pale shirt is easy to see. On a black shirt, use bright fills and light outlines so the design does not disappear into the fabric.
Stabilizer, Hooping, and Needle Choices Matter
Shirts stretch. That is why a cut-away stabilizer is usually the most reliable foundation for cartoon birthday embroidery, particularly when the design has fills, lettering, or several color changes. Tear-away stabilizer can be suitable for lighter linework, but it may not provide enough long-term support for a dense character design on knit fabric.
Use a temporary adhesive or basting stitch when needed to hold the shirt steady. The goal is to keep the fabric smooth and supported without stretching it in the hoop. Overstretching during hooping is a common reason designs look distorted after the shirt is removed.
A ballpoint or stretch needle is a smart choice for knit shirts because it is designed to move between fabric fibers rather than piercing and damaging them. Test your thread colors, stabilizer, needle, and tension on a similar scrap of fabric before committing to the final shirt. A ten-minute test stitch can prevent a wasted blank and a missed party deadline.
Make the Design Look Custom With Simple Details
Personalization is what turns a ready-to-stitch file into a birthday piece customers remember. Adding a name, age, party year, or short phrase can make one cartoon design work across many celebrations. It also gives boutique makers a quick way to offer options without creating a new design from scratch each time.
Thread color changes are another easy customization tool. Match the party palette, school colors, or favorite color instead of using the original cartoon color scheme every time. A pink-and-gold birthday theme, a neon gaming party, or a classic red-and-blue character palette can all begin with the same basic design layout.
Appliqué is worth considering when you want a big number or bold background shape without loading the shirt with dense stitches. A fabric appliqué number paired with a smaller embroidered cartoon detail can be lighter, faster to stitch, and easier to wear. It is especially useful for large age numbers on toddler shirts.
Plan for Fast, Repeatable Birthday Orders
If you make birthday shirts for customers, organization saves more time than rushing the machine. Keep favorite cartoon birthday files sorted by theme, age style, hoop size, and garment placement. Save thread charts with each design, and record which stabilizer worked best on common shirt blanks.
It also helps to create a few repeatable product formulas. For example, keep one layout for a front-center design, one for a large appliqué number, and one for a small pocket-style motif. Then personalize the name, age, colors, and character theme based on each order. This makes it easier to offer variety while maintaining consistent quality.
Before delivering or gifting the shirt, trim jump stitches, remove any visible topper, check the back for scratchy stabilizer edges, and press carefully from the reverse side. Include basic care guidance: wash inside out in cold water, avoid bleach, and use low heat or hang dry when possible.
A birthday comes around once, but a well-made embroidered shirt often stays in the memory box long after the candles are gone. Choose a design that fits the child, stitch it with comfort in mind, and let the personal details make it theirs.