How to put embroidery design files onto your embroidery machine from phone, laptop or USB
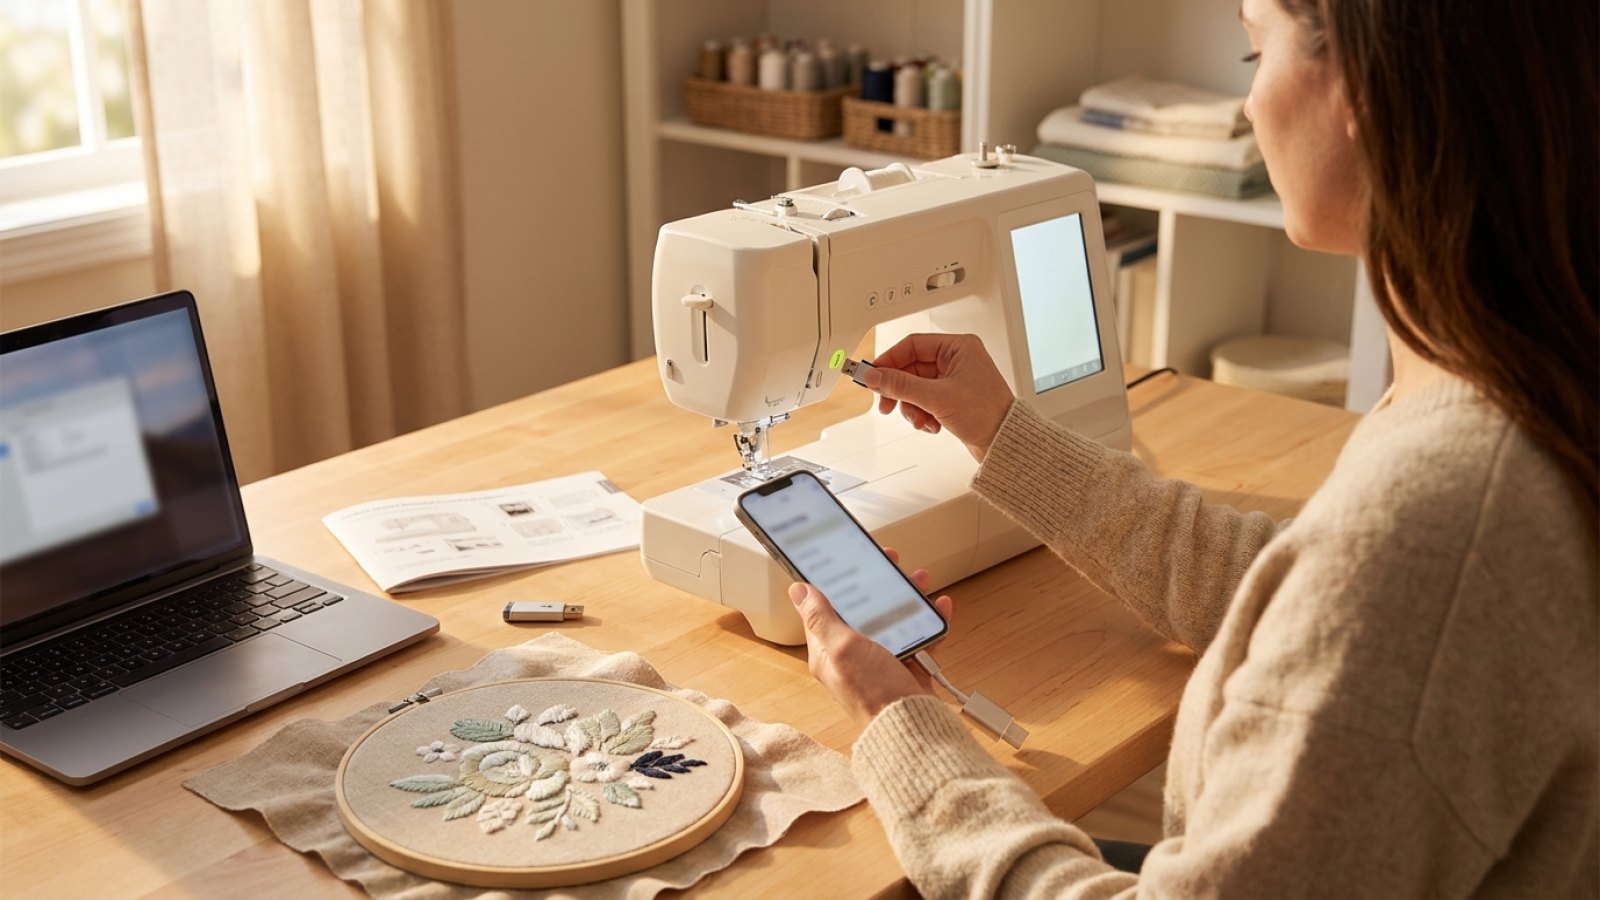
Getting designs from a phone or computer onto an embroidery machine sounds simple, but most problems come down to three things: the wrong file format, the wrong USB formatting, or the wrong folder location. If your machine is not recognising a stick, or your designs are not showing up once it is plugged in, the fix is usually practical rather than technical.
Most embroidery machines prefer a small, simply formatted USB drive and design files copied in the exact format the machine expects.
If you want a dedicated stick just for design transfer, a compact USB for embroidery design transfer is often easier to manage than using a large everyday flash drive full of other files.
 Embroidery designUsbView this design →
Before you copy anything: check these 4 basics
Before transferring files from a phone, laptop or desktop, confirm:
-
Your machine reads designs by USB
Not every machine does. Some use direct cable transfer, proprietary apps, cards, or Wi-Fi instead. -
You have the correct embroidery file format
Common formats include PES, JEF, DST, EXP, VP3 and HUS. A Brother machine usually needs PES, while a Janome model often uses JEF. If you transfer the wrong format, the file may appear invisible. -
The design fits your hoop size
A design larger than your machine’s embroidery field may not display, even if the format is correct. -
The USB drive is formatted correctly
For many machines, FAT32 is the safest option. exFAT is often not recognised by older embroidery machines.
How to transfer embroidery files from a laptop or desktop to a USB drive
This is the most reliable method.
1. Download the design files
Save the purchased design to your computer first. Most marketplace downloads arrive as a ZIP file.
2. Unzip the files properly
Do not drag the ZIP file itself onto the USB stick. Your machine cannot read a compressed archive.
Instead:
- Right-click the ZIP file and choose Extract All on Windows
- On a Mac, double-click the ZIP to unpack it
- Open the extracted folder and find the actual machine file, such as
.pesor.jef
This is the answer to a very common problem behind searches like how to unzip embroidery files to usb: unzip to your computer first, then copy only the actual embroidery files to the stick.
3. Format the USB drive if needed
If the drive is new, has been used for other devices, or your embroidery machine is refusing to read it, reformat it.
On Windows
- Insert the USB drive
- Open This PC
- Right-click the drive and choose Format
- Select FAT32 if available
- Leave allocation settings at default
- Start formatting
On Mac
If you need to know how to format a USB drive for an embroidery machine on a Mac, do this:
- Open Disk Utility
- Select the USB drive itself, not just the volume beneath it
- Click Erase
- Choose MS-DOS (FAT) as the format
- Choose Master Boot Record if a scheme option appears
- Erase the drive
On a Mac, MS-DOS (FAT) usually means FAT32 for suitably sized drives. That is typically the most machine-friendly choice.
4. Copy the design file to the correct place
Many machines will read a design placed directly in the root of the USB drive. Some require or prefer a specific folder structure.
For example:
- Some Brother models are happy with PES files in the main USB directory
- Some Janome machines expect a more specific folder arrangement, so janome usb folder structure matters
If your manual names a required folder, use it exactly. If not, start by placing only 1–3 design files in the root of the drive.
5. Eject the USB safely
Always eject before removing the drive. Pulling it out mid-write can corrupt the file system.
How to put embroidery files onto a machine from your phone
Phones can work, but only if the connection method is practical.
Option 1: Phone to USB drive with an adaptor
If your phone supports USB storage through an OTG or Lightning/USB adaptor:
- Download the ZIP file to your phone
- Unzip it with your phone’s file manager or unzip app
- Copy the correct embroidery file onto the USB drive
- Eject the drive safely
- Insert it into the machine
This works well if you are travelling, but it is still important that the USB stick is formatted in a way your machine accepts.
Option 2: Phone to computer, then computer to USB
This is often less frustrating. Move the download from your phone to your laptop first, then transfer the design to the USB stick from there.
If you regularly move files between devices, keeping a dedicated embroidery machine USB drive can reduce mistakes caused by mixed folders, photos and documents.
Why your embroidery machine is not recognising the USB drive
This is one of the most common support issues. If you are searching why won't my embroidery machine read my usb, check these causes in order:
1. The USB stick is too large
Older machines often prefer a small USB flash drive 2GB, 4GB or 8GB rather than a high-capacity drive. Even if a 64GB or 128GB stick technically works with a computer, the machine may ignore it.
For many users, the safest answer to what size USB flash drive should I use for my embroidery machine? is: start with a small drive, ideally one used only for embroidery.
2. The drive is formatted as exFAT or NTFS
For embroidery machine usb format fat32, FAT32 is usually best. exFAT is common on modern flash drives, but many embroidery machines do not recognise it.
3. The design format is wrong
A Brother PE800, for example, needs PES files. If you are looking up brother pe800 usb compatibility, remember the drive can be perfectly fine while the file itself is not.
4. The file is still zipped
Machines do not read ZIP archives.
5. Too many files are on the stick
Some machines slow down or fail to display designs if the drive contains hundreds of files. Keep the USB tidy.
6. The folder structure is wrong
If your machine expects a named directory, random folders may not show.
7. The file name is unusual
Very long names, symbols, or duplicated extensions can occasionally cause issues. Rename files simply, for example floral_4x4.pes.
FAT32 or exFAT: which is better?
For embroidery machines, FAT32 is usually the safer choice than exFAT.
Here is the practical comparison:
| Format | Best for embroidery machines? | Notes |
|---|---|---|
| FAT32 | Usually yes | Most widely recognised by older and current machines |
| exFAT | Often no | Common on large modern drives, but not always supported |
| NTFS | Rarely | Mainly a Windows computer format, often unreadable by machines |
If your machine manual does not clearly say exFAT is supported, choose FAT32.
Can you use a USB 3.0 or 3.1 drive in an older embroidery machine?
Sometimes yes, but not always reliably. USB 3.0 and 3.1 drives are often backward compatible in computers, yet older sewing and embroidery machines can be picky. The issue is usually not the speed; it is the controller, capacity, or file system.
So if you are asking can I use a USB 3.0 or USB 3.1 drive in an older sewing/embroidery machine?, the honest answer is: maybe, but a smaller, simpler drive is usually a better bet.
That is why many stitchers prefer a dedicated small USB stick for embroidery machines rather than a large premium flash drive.
How many designs can you save on one embroidery USB stick?
In pure storage terms, thousands. Embroidery files are usually small. But the real limit is your machine’s ability to scan and display them.
A better approach is:
- Keep only the designs you need for the current project on the USB
- Organise archived designs on your computer
- Avoid loading the stick with every file you own
That matters more than raw capacity when dealing with embroidery machine usb drive compatibility size formatting.
Best practice for Brother, Janome and similar machines
People often search for the best usb drive for brother embroidery machine or how to use usb drive for embroidery machine. Brand-specific rules vary, but these habits are broadly safe:
- Use a small-capacity USB drive
- Format it to FAT32
- Unzip files before copying
- Transfer only the machine file you need, such as transfer PES files to USB for Brother
- Start with files in the root directory unless your manual says otherwise
- Keep file names short and simple
- Remove unnecessary folders and non-embroidery files
A quick troubleshooting checklist
If designs are not showing up on the machine:
- Confirm the file is the correct format for your model
- Confirm the design fits your hoop
- Confirm the drive is FAT32
- Confirm the file is unzipped
- Try fewer files on the drive
- Try placing the file in the root directory
- Try a smaller USB drive
- Test with a different design file you know is valid
In practice, the most reliable setup is simple: one clean USB stick, FAT32 formatting, correct file type, and only a handful of designs loaded at once.
If your current stick has been unreliable, keeping a dedicated USB drive for embroidery machine transfers can make file handling much easier.