Have you ever held a brand-new t-shirt, your embroidery machine humming with potential, only to be stopped by a wave of uncertainty? You worry about the dreaded fabric puckering, choosing a design that’s too dense, or simply picking something that just won't look right. Finding unique and beautiful t-shirt embroidery designs that are actually created for stretchy knit fabric can feel like searching for a needle in a haystack. That hesitation and frustration can take all the joy out of a creative project before you even thread the first color.
Well, it’s time to push those worries aside and stitch with confidence! In this guide, we’re diving deep into the world of embroidered apparel for 2025. You’ll discover a gallery of inspiring ideas, from minimalist line art to vibrant floral accents. More importantly, we’ll share our pro tips for choosing the perfect digital design, understanding what makes a file "knit-friendly," and mastering placement for a flawless, professional finish. Get ready to turn your plain tees into custom masterpieces you’ll be proud to wear and show off. [
Key Takeaways](https://embroiderynsewing.com/articles)
- Learn which embroidery styles work best on stretchy t-shirt knits to avoid puckering and create a professional finish. - Master the key technical criteria for selecting high-quality digital t-shirt embroidery designs that will stitch out flawlessly.
- Understand the essential preparation steps, like choosing the right stabilizer, to set every t-shirt project up for success. - Transform a basic t-shirt into a unique, high-end garment that expresses your personal style.
Table of Contents
- Why Embroider on T-Shirts? The Ultimate Personalization Project
- Inspiration Gallery: Popular T-Shirt Embroidery Design Categories
- The Technical Checklist: Choosing a High-Quality T-Shirt Design File
- Essential Prep Work: Setting Your Project Up for Success
- Find Your Next Project at Embroidery n Sewing
## Why Embroider on T-Shirts? The Ultimate Personalization Project
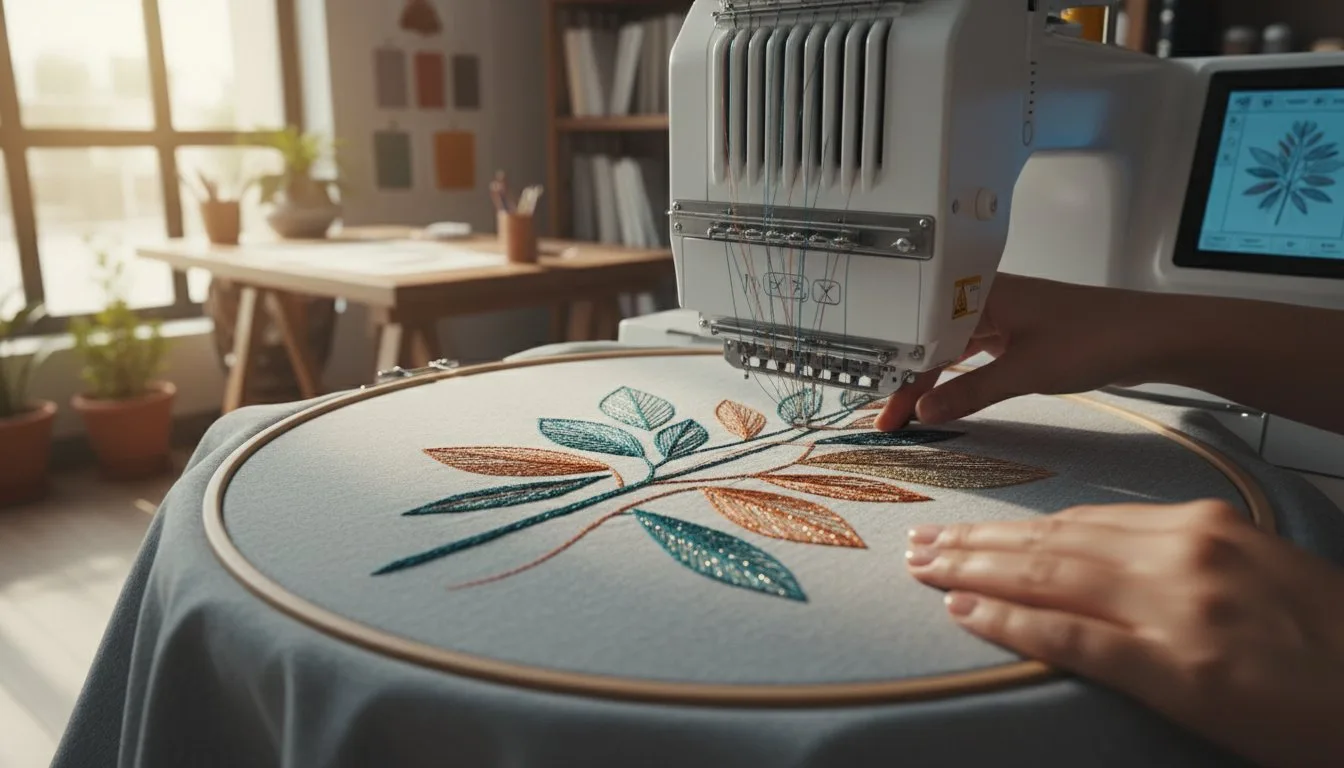
A plain t-shirt is more than just a wardrobe staple; it's a blank canvas waiting for your creative touch. While screen printing has its place, embroidery offers a unique way to transform this everyday garment into a personalized, high-end piece. Using thread and needle, the art of decorating fabric elevates a simple tee into a durable style statement, a thoughtful gift, or professional team apparel. It’s the perfect project for adding a touch of bespoke quality to the most universal piece of clothing in your closet.
The Appeal of Custom Embroidered Tees
Why choose embroidery over other customization methods? The benefits are stitched right into the fabric, offering a distinct advantage for both aesthetic and practical reasons.
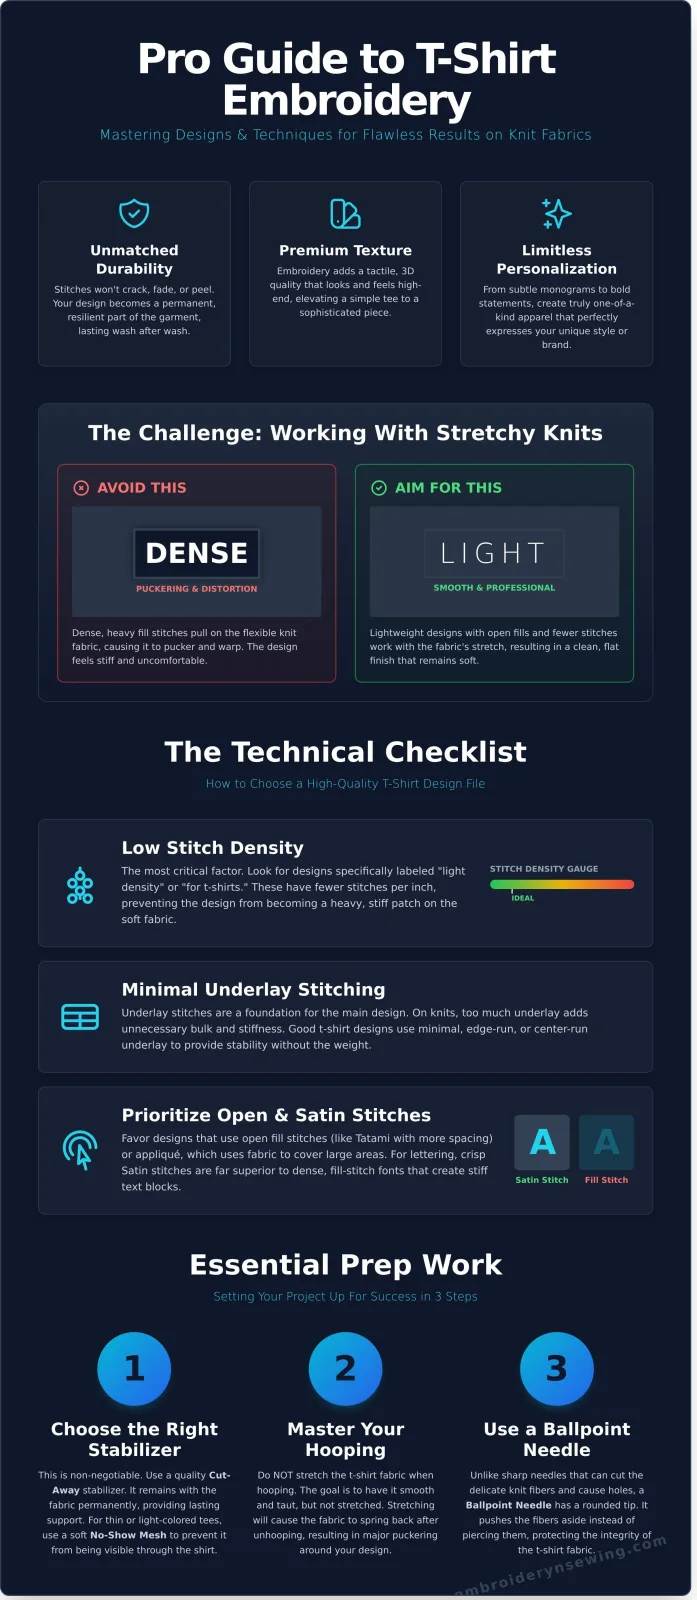
- Unmatched Durability: Unlike prints that can crack, fade, or peel over time, an embroidered design becomes part of the garment itself. The threads are resilient, ensuring your creation looks sharp wash after wash.
- Premium Texture and Dimension: Embroidery adds a tactile, three-dimensional quality that screen printing can't replicate. This subtle lift and texture lend an immediate sense of quality and sophistication to any t-shirt.
- Limitless Personalization: From a crisp company logo on the chest to a delicate floral motif on a sleeve or a bold quote across the back, the right t-shirt embroidery designs allow you to create truly one-of-a-kind pieces that reflect your exact vision.
Understanding the Challenge: Knit Fabrics
Before you start stitching, it’s crucial to understand the main challenge: the t-shirt itself. Most tees are made from knit jersey fabric, which is designed to be soft and stretchy. This flexibility, while comfortable to wear, can be tricky for embroidery.
A design with too many dense, heavy stitches can pull and weigh down the fabric, causing unsightly puckering and distortion around the edges. The key to success is choosing the right stabilizer and, most importantly, selecting lightweight t-shirt embroidery designs. These are specifically digitized with fewer stitches and open-fill patterns to work with the fabric's natural stretch, not against it, ensuring a smooth, professional finish every time.
Inspiration Gallery: Popular T-Shirt Embroidery Design Categories
The best t-shirt embroidery designs complement the garment rather than overpower it. This means thinking about weight, density, and placement. Moving beyond a standard chest logo opens up a world of creative possibilities, from a subtle cuff detail to a sprawling shoulder piece. To achieve a professional and balanced look, it helps to understand the fundamental design principles of proportion and emphasis. Let's explore some popular categories that work exceptionally well on t-shirt fabric.
Minimalist Line Art & Pocket Accents
Less is often more with t-shirt embroidery. Simple line art, delicate florals, and abstract shapes create a modern, high-end look without weighing down the knit fabric. These designs have a low stitch count, which prevents puckering and keeps the t-shirt soft and flexible. The pocket area is a perfect canvas for these subtle accents, offering a touch of personality that is both trendy and timeless.
Visual Example: Simple floral outline on a t-shirt pocket.
Bold Lettering & Monograms
Personalization is always in style. Adding initials, a meaningful word, or a short quote can turn a basic tee into a custom statement piece. For crisp, clean results, opt for satin stitch fonts, which are specifically digitized for clear lettering. Avoid large blocks of text made with dense fill-stitch fonts, as they can become stiff and heavy. Ready to get started? Find the perfect embroidery font for your project.
Visual Example: A three-letter monogram in satin stitch on the sleeve.
Pop Culture & Character Designs
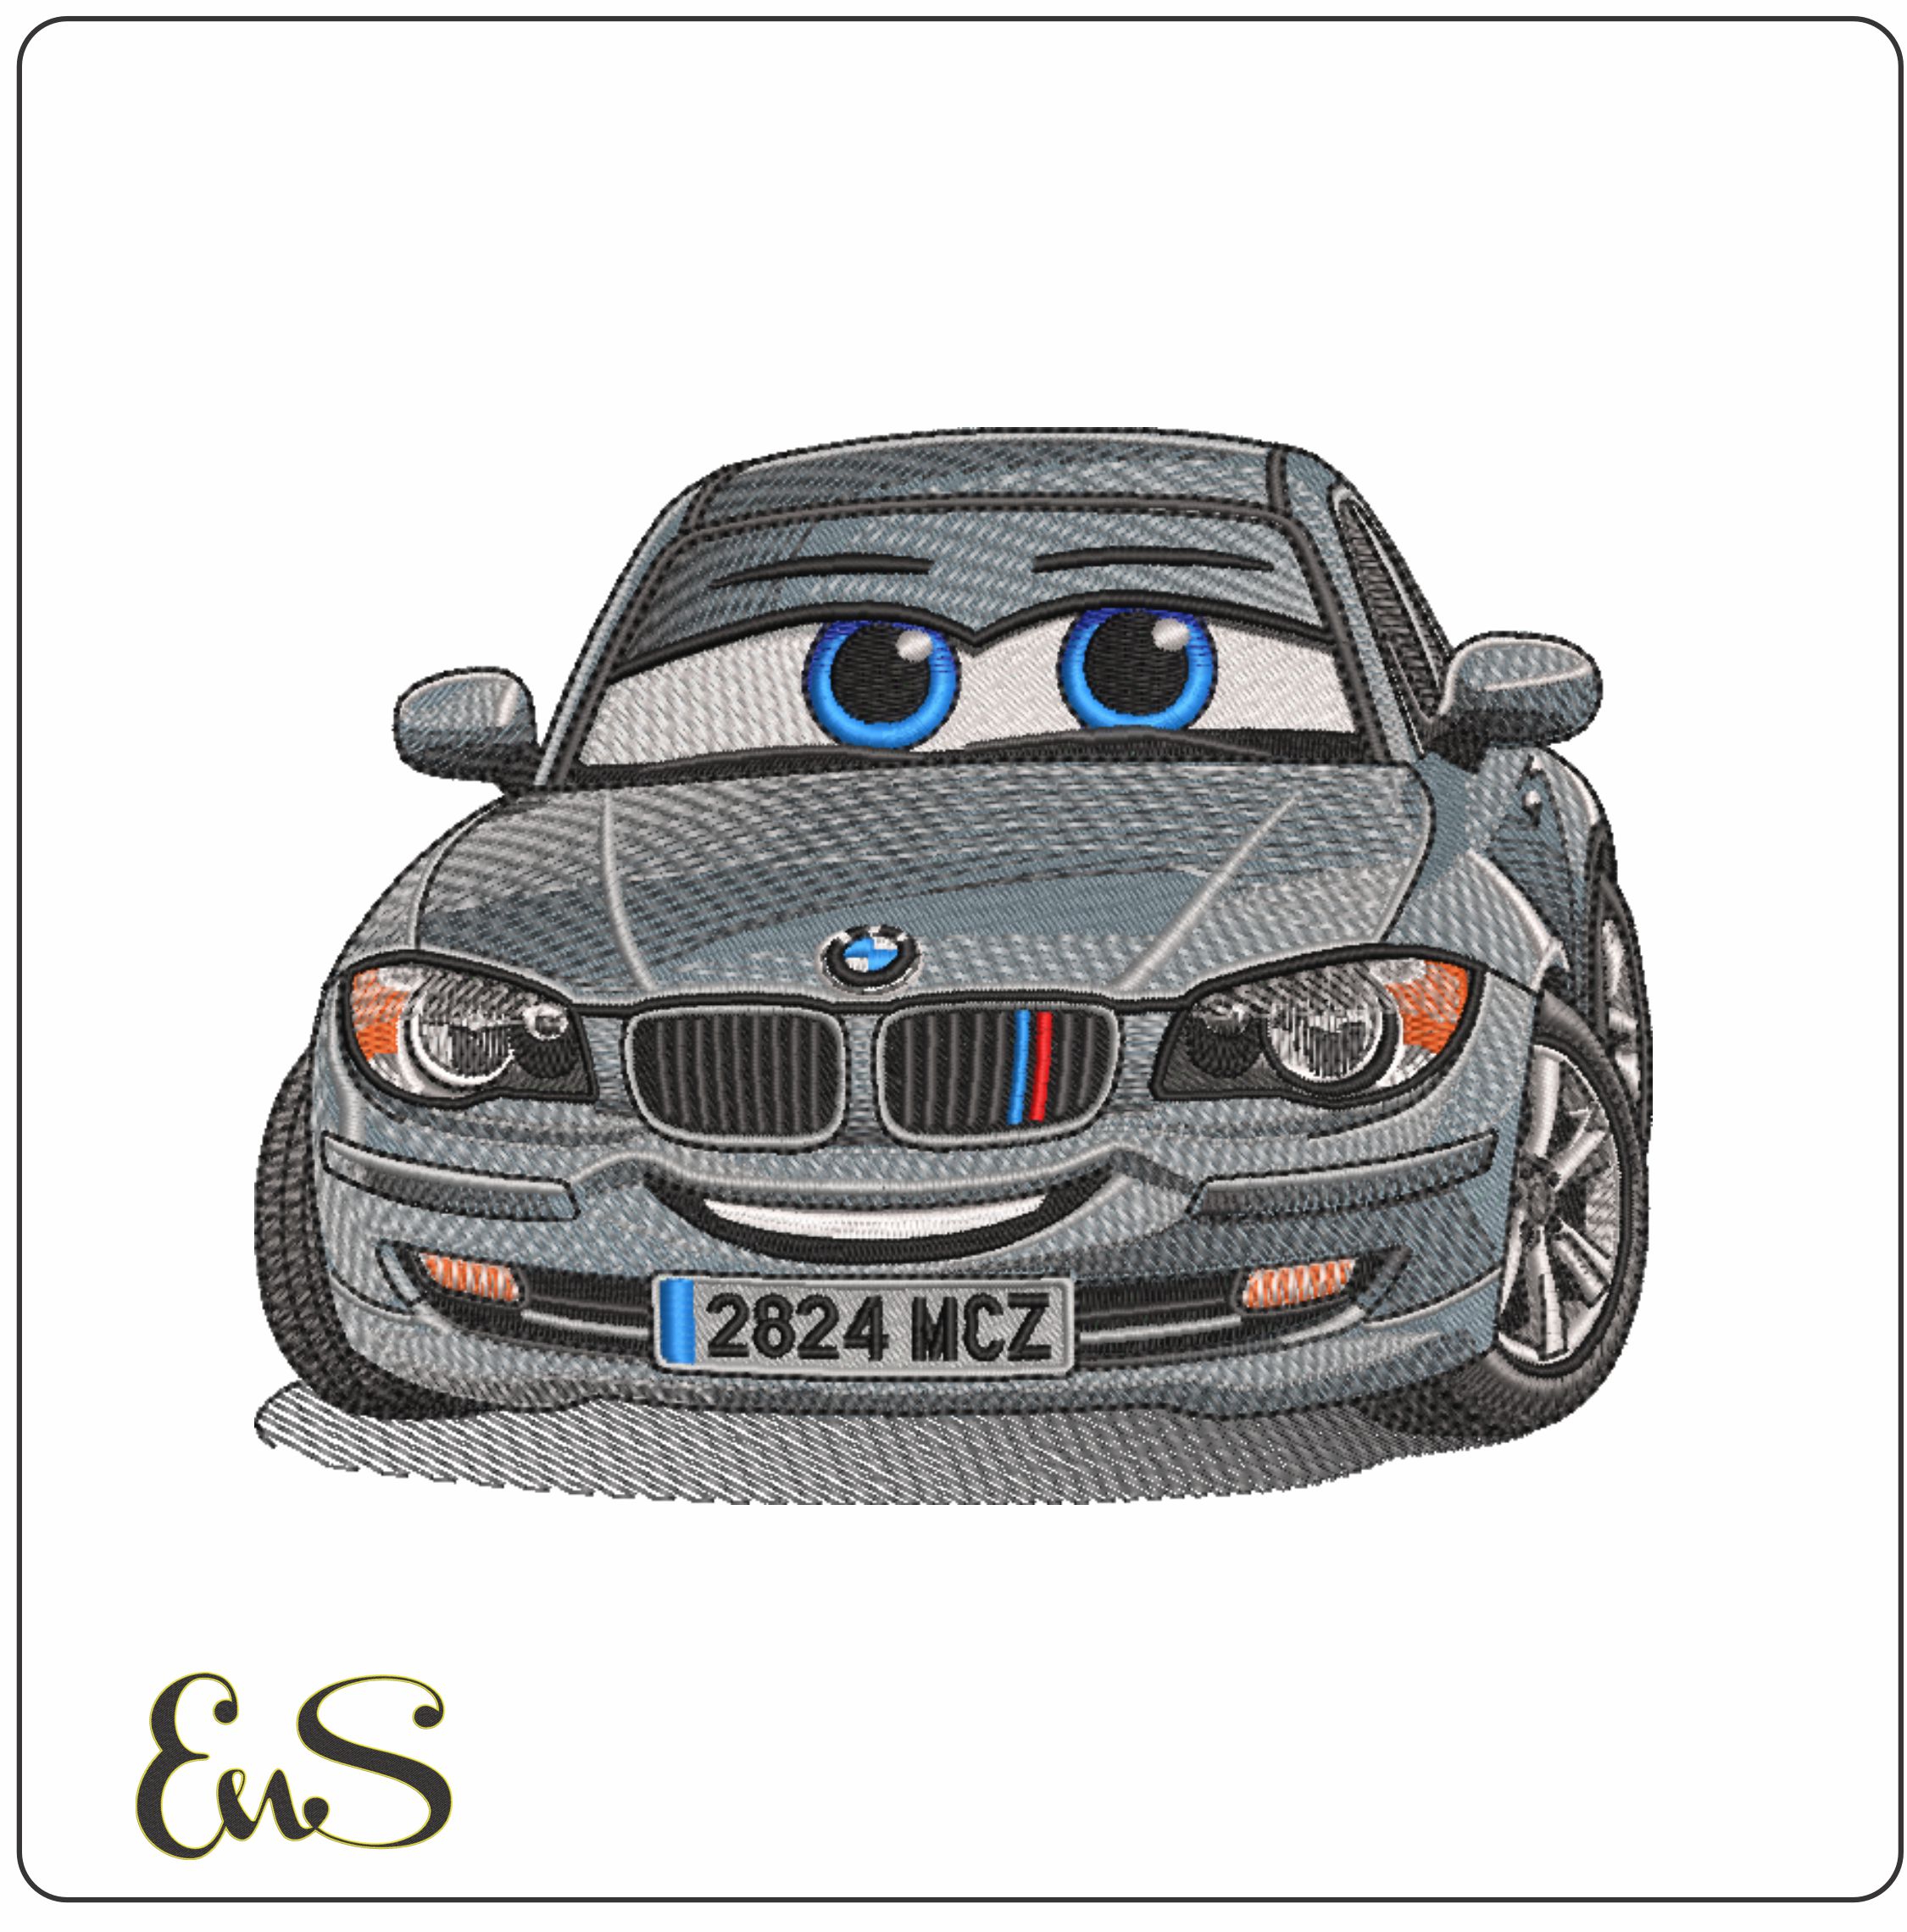
From anime heroes to beloved cartoon characters, pop culture icons are a fantastic choice for custom apparel. When choosing these designs, look for those digitized with open, light-density fill stitches or those that incorporate appliqué elements. This technique uses fabric pieces to fill in large color areas, drastically reducing the total stitch count and keeping the final result comfortable to wear. Always check the design's stitch count before purchasing to ensure it's suitable for t-shirt material.
Visual Example: A popular anime character with light fill stitches.
Sports Logos & Team Emblems
Show your team spirit with a professionally embroidered logo on your game-day shirt. Many official and fan-made sports logos are digitized specifically for apparel, ensuring they stitch out cleanly on everything from hats to jerseys. Before you start, double-check the final dimensions of the design to confirm it fits your intended placement area, whether it's the left chest, a sleeve, or the back yoke.
Visual Example: A local sports team logo embroidered on the left chest.
The Technical Checklist: Choosing a High-Quality T-Shirt Design File
A stunning visual is only half the battle. The success of your project hinges on the digital file's technical quality, especially when working with stretchy t-shirt fabric. A design digitized for a denim jacket will likely ruin a soft cotton knit. Before you click "buy," use this checklist to evaluate a file’s construction. This simple step helps you choose high-quality t-shirt embroidery designs that prevent puckering, distortion, and disappointment before you even thread the needle.
Stitch Density: Why 'Less is More' on Knits
Stitch density refers to how close together stitches are. While dense, solid fills look great on stable fabrics like twill, they are a t-shirt's worst enemy. Too many stitches in one area will pull, pucker, and stiffen the soft knit, creating an uncomfortable, bulletproof patch. Look for designs specifically labeled 'light density' or 'for knits.' Professional digitizers understand this delicate balance, a skill central to modern textile design, ensuring the final product complements the garment rather than fighting it.
The Role of Underlay Stitching
Think of underlay as the hidden foundation of your embroidery. These are the initial stitches sewn directly onto the fabric before the main design. For a stretchy t-shirt, a proper underlay is non-negotiable. It stabilizes the material, preventing it from shifting as the top stitches are applied. A quality file will include an edge-walk or a light grid underlay to secure the area, resulting in crisp lines and smooth fills instead of a distorted mess.
Sizing and Placement Strategy
Don't fall in love with a design before you know where it will live. A large, intricate piece that looks amazing online might not work for a small left-chest placement. Always decide on your placement first, then physically measure the area on the t-shirt. Compare those dimensions to the sizes offered for the design file. Crucially, ensure the design's size fits comfortably within your embroidery machine's largest hoop to avoid any last-minute surprises.
File Formats & Machine Compatibility
Embroidery machines don't all speak the same language. Each brand uses specific file formats to read design instructions. Before purchasing, you must know which format your machine requires. Most sellers provide a ZIP folder containing multiple popular formats, but it's always wise to confirm yours is included.
- PES: Brother, Babylock, Deco
- JEF: Janome, Elna, Kenmore
- DST: Tajima and many commercial machines
- EXP: Melco, Bernina
Check your machine's manual to confirm its required format and avoid buying a file you can't use.
Essential Prep Work: Setting Your Project Up for Success
You've found the perfect design, but don't hit 'start' on your machine just yet. The secret to a professional-looking embroidered t-shirt isn't just the pattern-it's the preparation. Rushing this stage is the number one cause of puckering, misalignments, and disappointment. A few extra minutes of prep work ensures your project is a success from the very first stitch.
Choosing the Right T-Shirt
The fabric of your t-shirt is the canvas for your art. For the best results, especially for beginners, choose a quality, medium-to-heavyweight cotton t-shirt (around 5-6 oz). These sturdier fabrics are less prone to stretching and can handle denser stitch counts without puckering.
- Always pre-wash and dry your shirt! This crucial step preshrinks the fabric, preventing your beautiful embroidery from warping after the first wash.
- Avoid extremely thin, stretchy, or loosely woven fabrics, as they are much more difficult to stabilize properly and can lead to poor results.
Stabilizer: The Non-Negotiable Foundation
Think of stabilizer as the temporary scaffolding for your stitches. T-shirt fabric is a knit, meaning it's designed to stretch. Stabilizer prevents that stretch during the embroidery process, ensuring clean, crisp lines. For most t-shirt embroidery designs, a medium-weight cut-away stabilizer is the gold standard. It bonds to the fabric and remains after washing, providing long-term support for the design. For a deeper dive, you can explore more options at embroiderynsewing.com.
For designs with fluffy textures, consider adding a thin layer of water-soluble topping. This prevents stitches from sinking into the fabric, keeping them sharp and defined.
The Golden Rule: Always Do a Test Stitch-Out
This is the most important tip we can give you. Before you commit to your final garment, always stitch your design out on a scrap piece of similar fabric with the same stabilizer you plan to use. This test run is your final quality check. It allows you to spot and fix potential problems like incorrect thread tension, a design that is too dense for the fabric, or color combinations that don't translate well. This simple step can save you from ruining a brand-new t-shirt and the frustration that comes with it.
Find Your Next Project at Embroidery n Sewing
Feeling inspired? Now that you have a clear vision for your next custom t-shirt, the next step is finding the perfect digital file to bring it to life. Hunting for high-quality, reliable designs can be a challenge, but at Embroidery n Sewing, we've done the hard work for you. Our extensive library is your one-stop shop for professional-grade t-shirt embroidery designs that will make your apparel stand out from the crowd and showcase your unique style.
A Curated Collection for Every Project
Don't waste another moment searching through endless, unvetted marketplaces. We offer a meticulously organized collection spanning countless themes and styles, from delicate florals and minimalist line art to bold lettering and intricate mandalas. Best of all, every purchase is an instant download, meaning you can move from inspiration to creation in just minutes. We ensure machine compatibility is never an issue by providing each design in multiple major formats, so you can load your file and start stitching without any technical headaches.
- DST: For Tajima, Barudan, and many commercial machines
- PES: For Brother, Babylock, and Deco machines
- JEF: For Janome and Elna machines
- XXX: For Singer and Compucon machines
- EXP: For Melco and Bernina machines
- HUS: For Husqvarna and Viking machines
- VP3: For Pfaff and Husqvarna/Viking machines
Designs Optimized for Apparel
A beautiful digital file is useless if it doesn't stitch out perfectly on fabric. We understand the unique challenges of embroidering on t-shirt knits, which is why our files are specifically digitized and tested for apparel. This focus on quality means proper underlay stitching to prevent puckering, optimized stitch density for soft fabrics, and clean paths to reduce thread breaks. You can shop with confidence, knowing our premium t-shirt embroidery designs are built for success. From iconic sports logos to beloved cartoon characters, our collection is ready for your needle.
Explore our collection of sports & pop culture designs!
Ready to transform a plain t-shirt into a personalized masterpiece? Your next favorite project is waiting. Browse our full collection at embroiderynsewing.com today and discover the perfect design to get started.
Your Next Masterpiece: Bringing Your T-Shirt Embroidery to Life
Embroidery offers a unique and durable way to elevate a simple t-shirt into a personalized work of art. As we've covered, the key to a stunning result lies in combining your creative spark with solid technical preparation. From selecting an inspiring theme to choosing a high-quality digital file, every step contributes to the final look. By focusing on exceptional t-shirt embroidery designs and properly setting up your project, you're guaranteeing a professional-grade piece you can be proud to wear or gift.
Now that you're armed with ideas and pro tips, it's time to find the perfect pattern. At Embroidery n Sewing, we make it easy to start your next project. Explore a huge collection of sports, cartoon, and logo designs, all optimized for t-shirts and compatible with all major embroidery machine brands. With instant digital downloads, you can go from browsing to stitching in minutes.
Browse Thousands of T-Shirt Ready Embroidery Designs!
Don't just wear a t-shirt-wear your story. Happy stitching!
Frequently Asked Questions About T-Shirt Embroidery
What is the best type of stabilizer for t-shirt embroidery?
The best stabilizer for stretchy knit t-shirts is a quality cut-away stabilizer. It provides permanent support to the fabric's fibers, preventing the design from distorting, stretching, or puckering during and after washing. For very thin or light-colored shirts, a no-show mesh cut-away is an excellent choice to provide stability without being visible through the fabric. A water-soluble topping can also be used on top to prevent stitches from sinking into the material.
Can you embroider on a 100% polyester or very thin t-shirt?
Yes, but with careful preparation. For 100% polyester performance shirts, use a lightweight no-show mesh cut-away stabilizer and a ballpoint needle to avoid snagging the delicate fibers. For very thin t-shirts, like burnout or slub knits, choose a design with a low stitch density. Using a heavy, dense design on thin fabric is a primary cause of puckering and tearing. Always perform a test stitch-out on a scrap piece of similar fabric first.
How do you stop a t-shirt from puckering after embroidery?
Puckering is a common issue with t-shirt embroidery designs and is usually caused by incorrect stabilization or hooping. First, always use a cut-away stabilizer. Second, ensure you are not stretching the fabric when you hoop it. The t-shirt should be smooth and taut, but not stretched tight like a drum. If the fabric is stretched during embroidery, it will relax back to its natural state once unhooped, causing the material around the stitches to pucker.
What is the best placement for a logo on the left chest of a t-shirt?
A standard guide for left-chest logo placement is to draw an imaginary vertical line down from the center of the shoulder seam. Then, draw a horizontal line across from the bottom of the collar or armpit. The center of your design should typically land where these lines intersect. For most adult shirts, this places the design approximately 7-9 inches down from the shoulder and 4-6 inches over from the center of the shirt's neckline.
Do I need a special needle for embroidering on knit t-shirts?
Absolutely. Using the correct needle is crucial for success with knit fabrics. A ballpoint needle (size 75/11 is a great all-purpose choice) is the best option for t-shirts. Unlike a standard sharp needle that pierces and can break the fabric's fibers, a ballpoint needle has a rounded tip. This allows it to slide between the knit fibers, preventing holes, runs, and damage to the t-shirt material, resulting in a much cleaner and more professional finish.
How do I find out the stitch count of a design before I buy it?
Most reputable websites selling digital embroidery files will list the stitch count directly in the design’s description. Look for terms like "Stitches," "Stitch Count," or an abbreviation like "ST." This number is vital for selecting appropriate t-shirt embroidery designs, as a higher stitch count indicates a denser design that may not be suitable for lightweight knits. If it's not listed, examine the design preview; a complex, filled-in design will have a much higher count than a simple outline.